Why Are My Plant Leaves Turning Brown at the Tips?
A brown tip is permanent damage, but it is not automatically a dying plant. Leaf edges and tips are often the first place stress becomes visible because they sit far from the main water supply of the leaf. That makes them useful clues, not just ugly marks.
The better question is not only why the tip turned brown. It is whether the browning is old or active, whether it appears on new leaves, and whether the plant changed rooms, pots, water, light, fertilizer, or temperature recently. If several care changes happened at once, slow down before making another one.
Read the pattern before changing the care routine
Start by separating a cosmetic old mark from a live problem. A few brown tips on older leaves can come from one missed watering, a hot afternoon at the window, or normal wear on a leaf that is already aging. Brown tips appearing on several new leaves usually point to something still happening now. When symptoms spread or repeat, University of Minnesota plant disease guidance can help separate a simple care issue from a disease pattern.
Check the whole plant before changing the routine: leaf firmness, soil moisture, pot weight, drainage holes, nearby vents, direct sun, recent fertilizer, and whether the pot was moved. Crispy tips with dry soil point in a different direction than brown tips with wet soil and soft stems.
A small tracking step helps more than guessing. Take a photo of one damaged leaf and one new leaf, then compare them after 10 to 14 days. If the old brown edge looks the same and new growth is cleaner, the plant may already be recovering. If new leaves open with the same damage, the current routine still needs attention.
| Clue | What it suggests first |
|---|---|
| Dry soil, light pot, crispy tips | Water is not reaching roots often or deeply enough |
| Wet soil, soft stems, sour smell | Root stress or overwatering may be involved |
| Tips worsened after feeding | Fertilizer or mineral buildup deserves a check |
| Damage mostly on one exposed side | Sun, heat, cold glass, or physical rubbing may be the trigger |
Check watering consistency before blaming humidity
Many brown-tip problems begin with uneven watering. A plant that swings from very dry soil to a heavy soak can lose fine root function, especially in a warm room or a small pot. The leaves may stay mostly green while the tips crisp because water is not moving evenly to the edges.
Use the soil and pot weight instead of a fixed calendar. Push a finger or wooden skewer into the mix, then compare that reading with how heavy the pot feels. If the top is dry but the lower root zone is still damp, wait. If the pot is light and the soil is dry several inches down, water thoroughly until extra water drains out.
The way water enters the pot matters. A quick splash on compacted soil can run down the sides and leave the root ball dry. A slow soak gives the mix time to absorb moisture. After watering, empty the saucer so roots are not left sitting in water. This one check prevents a common mistake: treating dry tips with more frequent shallow watering while the lower soil stays stressed.
Look for mineral or fertilizer buildup in the pot
Brown tips can come from salts and minerals collecting in the soil. This is more likely when fertilizer is used often, tap water is hard, the plant is sensitive, or the pot rarely gets watered enough for excess water to drain out. A pale crust on the soil surface or pot rim is a visible clue, but buildup can happen even without a dramatic crust.
If buildup seems likely, pause fertilizer first. Feeding a stressed plant can make the tips worse because damaged roots are less able to handle extra salts. If the pot drains well and the plant is not already waterlogged, flush the mix with plain water and let it drain completely. Then wait for new growth before feeding again.
Sensitive plants make this diagnosis easier. Spider plants, dracaenas, calatheas, peace lilies, and some palms may react to water quality sooner than tougher plants nearby. If only one sensitive plant has burnt tips while the rest of the room looks fine, try filtered water or rainwater for that plant and judge the result by the newest leaves.
- Check for drainage holes before flushing soil.
- Look for white crust on soil, pot edges, or saucers.
- Pause fertilizer after a suspected buildup issue.
- Resume feeding at a weaker dose only during active growth.
Match humidity advice to the actual room
Dry indoor air can crisp tips, especially on thin-leaved tropical plants, but humidity is not the answer to every brown edge. The room has to support that diagnosis. A plant near a heater, air conditioner, drafty door, or hot window is under a different kind of stress than a plant sitting in steady bright indirect light.
Move sensitive plants away from vents and cold glass before buying equipment. Grouping plants can slightly improve the nearby microclimate, and a pebble tray may help around the pot without leaving roots in standing water. Misting gives a brief wet surface but does not change a dry room for long, and in poor airflow it can encourage leaf problems.
Light and humidity often overlap. A plant in harsh afternoon sun may show dry tips even if the watering routine is reasonable. In that case, pulling the plant back from the glass or adding a sheer curtain can solve more than watering more often.
The useful plant adjustment is the one you can confirm on new growth, not the one that makes an old brown tip look less annoying.
Inspect roots if the browning keeps spreading
If new brown tips keep appearing after steadier watering and a better room position, inspect the roots. Slide the plant out gently when the soil is slightly moist. Healthy roots are usually firm and pale to tan, depending on the plant. Roots that smell sour, feel mushy, or look blackened point toward rot or long-term wet soil.
A root-bound plant can also create brown tips because the pot dries too quickly. If roots circle tightly around the outside and the plant needs water far more often than before, a modest pot increase may help. Move up only one pot size. A much larger pot can hold wet soil around a stressed root ball and create the opposite problem.
Do not combine root work, fertilizer, pruning, and a big location change on the same day unless the plant is clearly in emergency condition. Roots need stable light, correct moisture, and time after disturbance. Make the root correction, then watch the next leaves before deciding whether another change is needed.
- Firm roots suggest routine adjustment may be enough.
- Mushy roots need a rot response, not extra watering.
- Tightly circling roots may need a slightly larger pot.
- Sour soil smell should be solved before fertilizer returns.
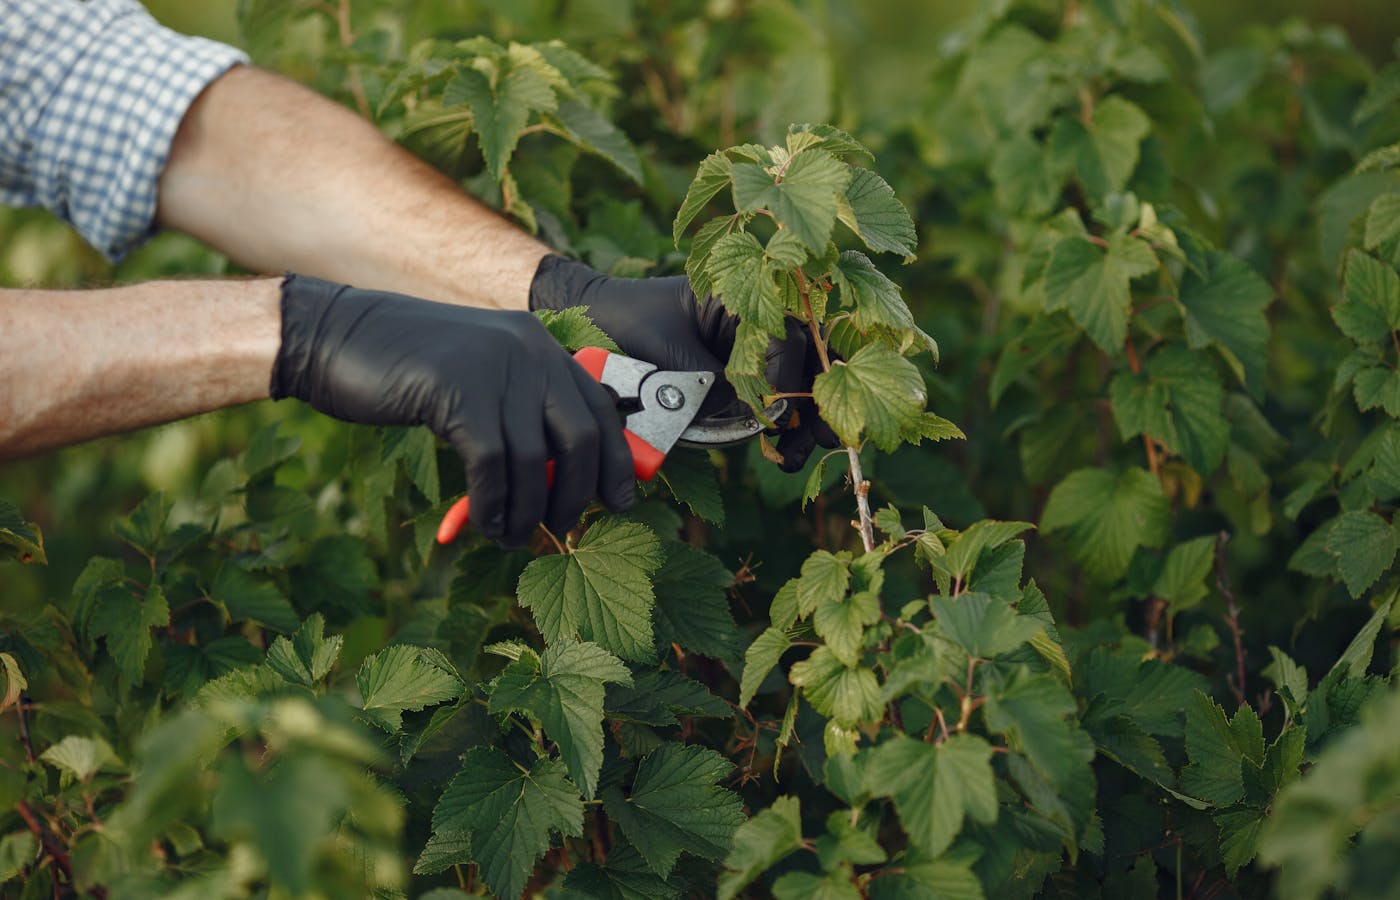
Trim brown tips only after the cause is controlled
Trimming can make the plant look cleaner, but it does not fix the cause. Use clean scissors and follow the natural leaf shape. Leave a tiny brown edge instead of cutting into healthy green tissue, because fresh cuts through green leaf tissue can dry and make the trimmed spot look ragged.
After trimming, watch new leaves for two to four weeks. Clean new growth means the current routine is probably closer to what the plant needs. New damage means you should return to the diagnosis: soil moisture, roots, minerals, fertilizer, light, heat, cold, and airflow.
Brown tips are a record of stress, not a verdict on the plant. Treat them as a prompt to observe carefully, change one variable at a time, and judge success by the leaves that grow after the correction.