How to Repot an Indoor Plant Without Stress

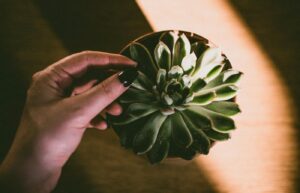
Repotting an indoor plant can feel more serious than watering or pruning because the whole plant comes out of its pot. Roots are visible, soil falls everywhere, and beginners often worry that one wrong move will ruin a healthy plant.
I like to treat repotting as a careful reset, not a dramatic rescue. You check whether the plant really needs more room, prepare the new pot, handle the roots gently, and give the plant a quiet recovery period afterward.
Confirm the plant actually needs repotting
Not every plant that looks crowded needs a new pot immediately. Some indoor plants, including many beginner indoor herbs, prefer being slightly snug. Look for stronger signs: roots circling the drainage holes, water running straight through, soil drying unusually fast, roots pushing the plant upward, or growth slowing during the normal growing season.
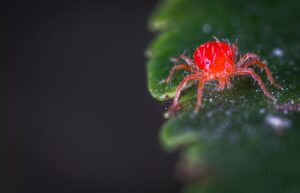
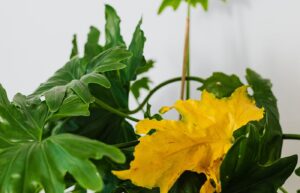
If the plant is drooping because of thirst, low light, pests, or cold drafts, repotting may add stress instead of solving the problem. Check the basics first. Repot when the root system and soil condition point to a pot problem, not just because the plant looks imperfect for a week.
Timing also matters. If possible, repot during active growth rather than in the middle of a cold, dark stretch. A plant with enough light and warmth has a better chance to rebuild fine roots after being disturbed.
- Repot if roots are tightly circling.
- Wait if the plant is already stressed from pests.
- Check drainage before changing pot size.
- Use the growing season when possible.
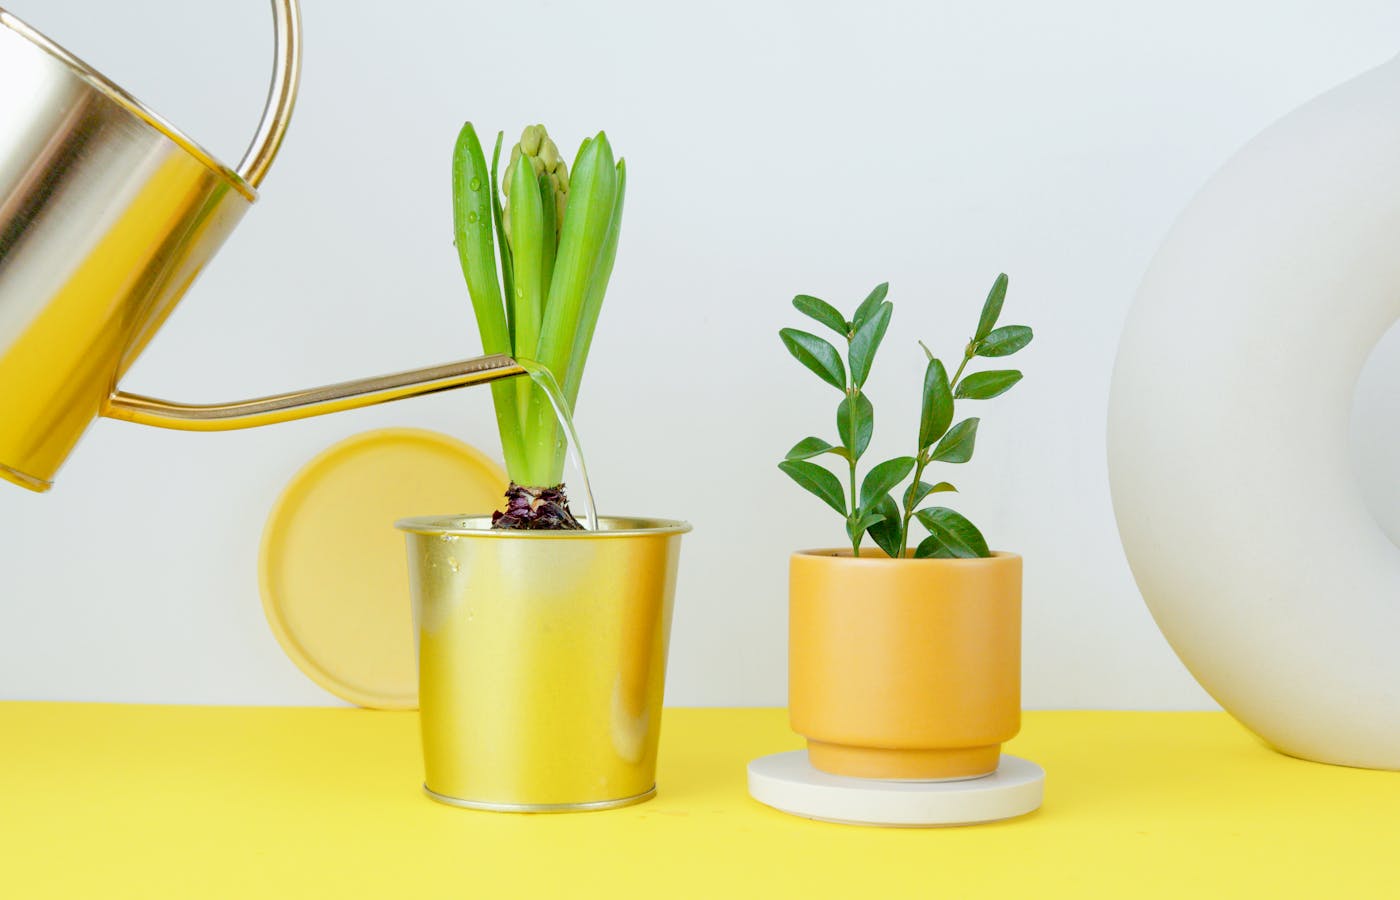
Choose a pot only slightly larger than the old one
A bigger pot sounds kinder, but too much extra soil can hold moisture around roots for too long. For most indoor plants, move up one pot size, usually one or two inches wider in diameter. The new pot should have drainage holes. Decorative cachepots can be useful, but the plant itself still needs a draining inner pot.
Match the pot to the plant and your watering habits. Terracotta dries faster and can help people who tend to overwater. Plastic holds moisture longer and can work for plants that dislike drying out too quickly. The right choice is not just aesthetic. It changes how the root zone behaves after watering.
Check the saucer too. A good pot still causes trouble if water collects underneath for days. Empty standing water after the pot drains, especially for plants that already showed signs of soggy soil.
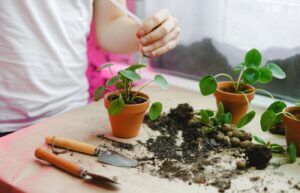
Prepare the workspace before lifting the plant
Repotting is calmer when everything is ready first. Lay down newspaper, a tray, or an old towel. Put the new pot, fresh potting mix, scissors, gloves, and water nearby. If the plant is large, ask for help before you start. A half-repotted plant is not the moment to search for a missing saucer.
Use a potting mix suited to the plant. A cactus or succulent mix drains faster than a general houseplant mix. Tropical foliage plants often prefer a mix that holds some moisture while still draining well. Avoid using heavy outdoor garden soil in indoor pots because it can compact and drain poorly. When plant choice is the real decision, Missouri Botanical Garden plant finder can help match the plant to the growing conditions.
Moistening very dry mix before use can help it settle more evenly. It should feel lightly damp, not muddy. Bone-dry mix sometimes repels water at first, which makes the first watering run down the sides instead of through the root zone.
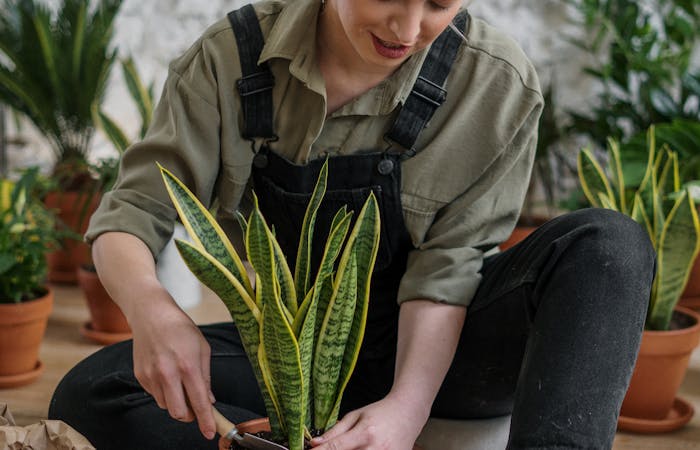
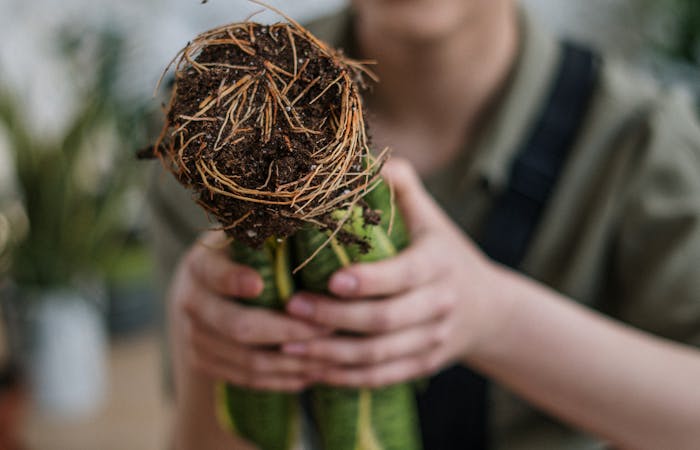
Loosen the root ball gently instead of tearing it apart
Slide the plant out by supporting the base and tipping the pot. If it sticks, squeeze the pot sides or tap the bottom. Once the root ball is out, look before pulling. Healthy roots are often pale, firm, and earthy smelling. Mushy, black, or sour-smelling roots may signal rot and need more careful trimming.
Loosen only what needs loosening. If roots are circling tightly, tease the outer layer with your fingers. If the plant has a delicate root system, keep the root ball more intact. The goal is to help roots move into fresh soil, not to comb them until the plant has nothing familiar left.
Trim only roots that are clearly dead, mushy, or damaged. Cutting healthy roots just to make the ball look tidy can slow recovery. If you remove a lot of bad roots, choose a pot size carefully because the remaining root system may not need much extra soil.
- Support the plant at the base.
- Slide it out slowly.
- Inspect roots before trimming.
- Loosen tight outer roots.
- Keep healthy inner soil mostly intact.
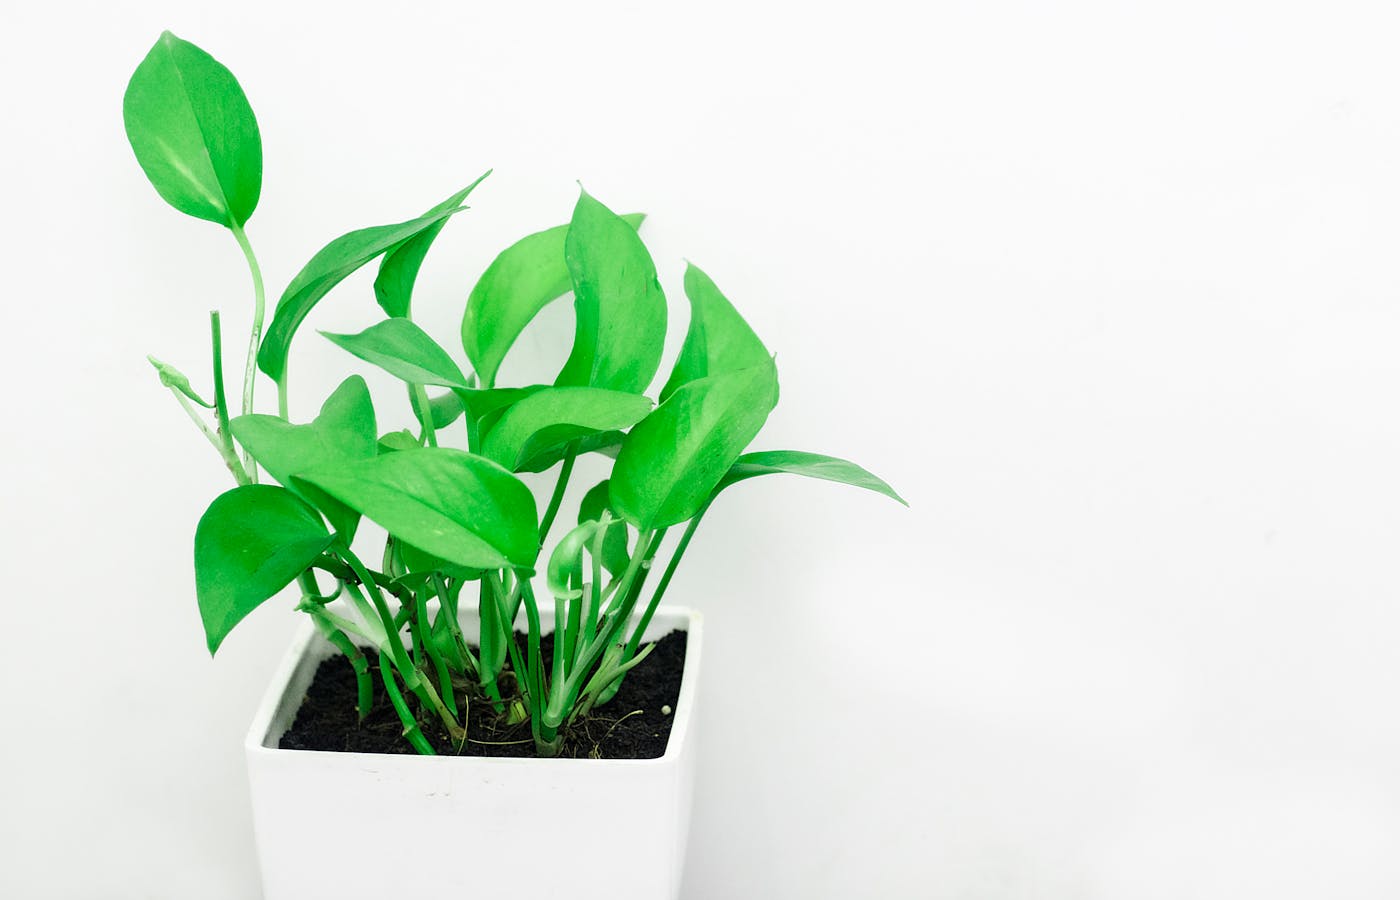
Set the plant at the same depth in fresh mix
Add a small layer of fresh mix to the bottom of the new pot, then place the plant so the soil line sits close to where it sat before. Burying the stem too deeply can invite rot for some plants. Leaving the root ball too high can make watering messy and expose roots.
Fill around the sides with fresh mix and press lightly. Do not pack the soil like concrete. Roots need air as well as moisture. Rotate the pot as you fill so gaps do not hide on one side. When the plant feels stable, stop pressing and check that water will not overflow immediately from the top.
Leave a small watering lip below the rim. If the soil is filled to the very top, water runs over the edge before soaking in. That small gap keeps watering cleaner and gives the mix space to settle during the first few weeks.
Water once, then let recovery be quiet
Most freshly repotted plants need a careful watering to settle the mix around roots. Water until moisture reaches the drainage holes, then let the pot drain fully. If the plant was repotted because of root rot or wet soil, follow a more cautious plan and let the mix breathe before watering heavily.
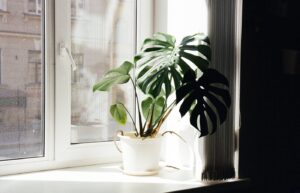
After repotting, keep the plant in bright indirect light and avoid fertilizing immediately. Some drooping can happen while the roots adjust. Watch new leaves, firmness, and soil moisture over the next few weeks. If the plant declines sharply, check water, light, and root condition rather than adding more fertilizer.
Do not move the plant repeatedly during recovery unless the first spot is clearly wrong. Stable light, stable temperature, and careful watering are usually more helpful than constant adjustments. The plant already had one big change; let the next few weeks be boring.
If the top leaves droop a little, check soil moisture before reacting. Watering again too soon can create a second problem. A plant that was watered thoroughly after repotting may simply need time, not another rescue attempt.
Repotting gets easier when you slow the process down. The plant needs enough room, fresh mix, gentle handling, and time to recover. That is usually better than a rushed upgrade into the biggest pot on the shelf.
If you are nervous, start with a sturdy plant rather than your most delicate one. A calm first repot teaches the rhythm: prepare the space, lift carefully, keep the depth steady, water well, and then wait.
That patience is part of the care. Repotting changes the plant below the soil line first, so the best results may show up slowly through steadier growth and healthier watering later.
A small note with the repotting date also helps you avoid doing it again too soon.