Common Houseplant Pests and What to Do

Houseplant pests usually start small. One leaf looks dusty, a few tiny flies lift from the soil, or a sticky patch appears on a shelf under the plant. The problem is easy to ignore at first because the plant may still look mostly healthy.
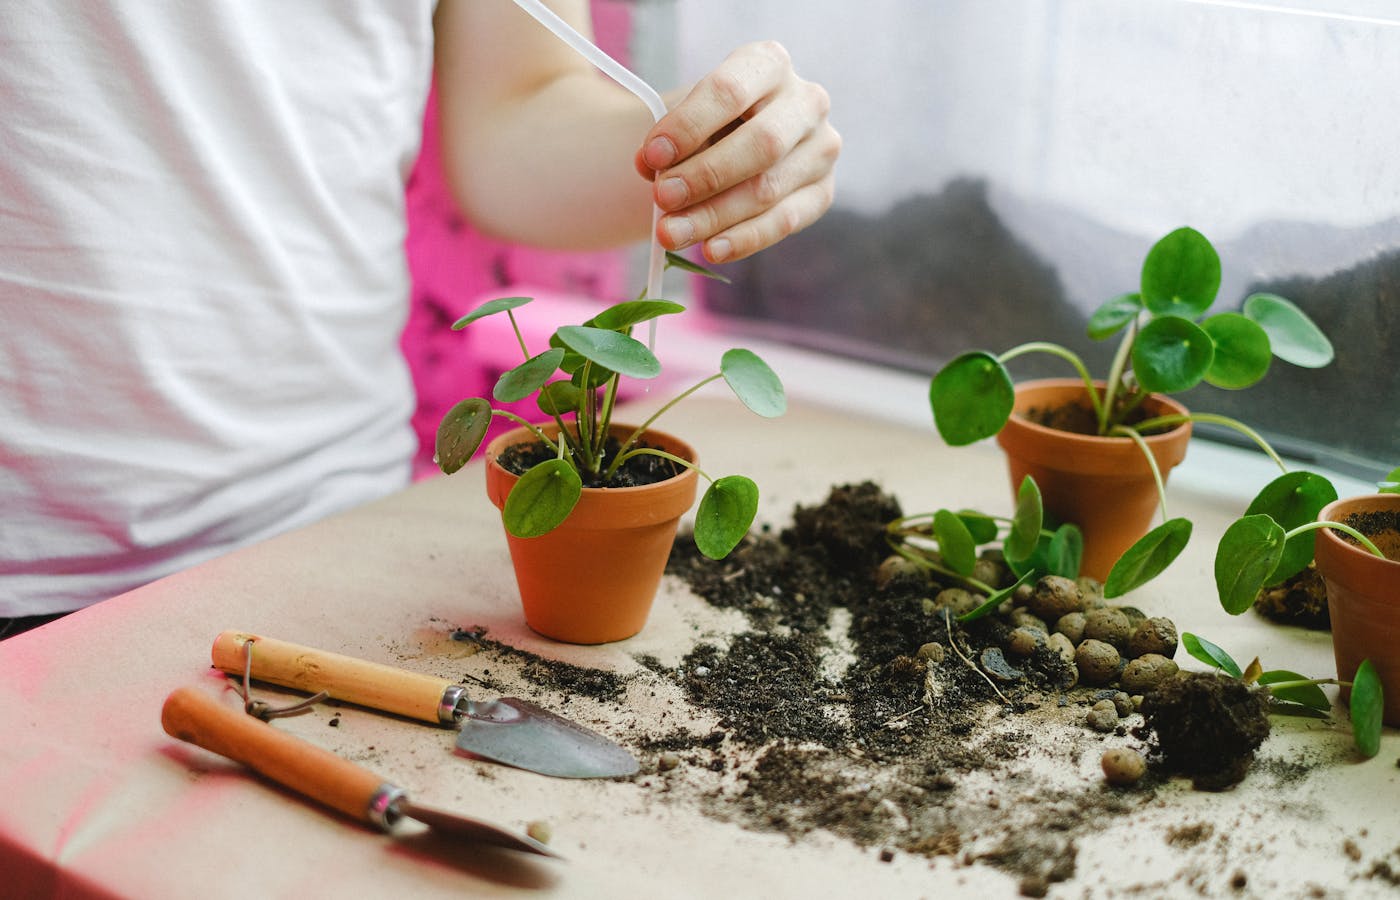
If you are dealing with common houseplant pests, the best first move is not panic spraying. Slow down, separate the affected plant, identify what you can actually see, and repeat a simple cleaning or treatment routine long enough to catch the next round of insects.
Most pest problems improve through inspection and repetition. A single dramatic treatment may miss eggs, hidden stems, or insects tucked under leaves.
Isolate the plant before pests spread to nearby pots
Move the affected plant away from other houseplants as soon as you suspect a pest problem. A spare room, bright bathroom, porch, or separate windowsill can work if the plant still gets suitable light and temperature. Isolation is not a punishment for the plant. It is a way to stop one small issue from becoming a shelf-wide problem.
Check the plants that were touching it or sitting nearby. Pests often travel from leaf to leaf, through crowded foliage, or on hands and tools. Look under leaves, around new growth, along stems, and near the soil line. A plant can host pests before the damage becomes obvious, especially if the leaves are dense.
Keep the isolation period long enough to matter. Many beginners clean once, see fewer insects, and move the plant back immediately. I would give it at least a couple of close weekly checks before returning it to a crowded plant corner.
- Move the affected plant away from the group.
- Inspect nearby plants on the same shelf.
- Wash hands or tools after handling the problem plant.
- Keep the plant in suitable light while isolated.
Identify common houseplant pests by the clue left behind
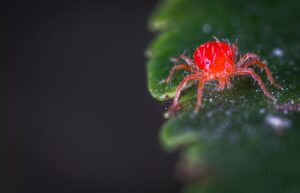
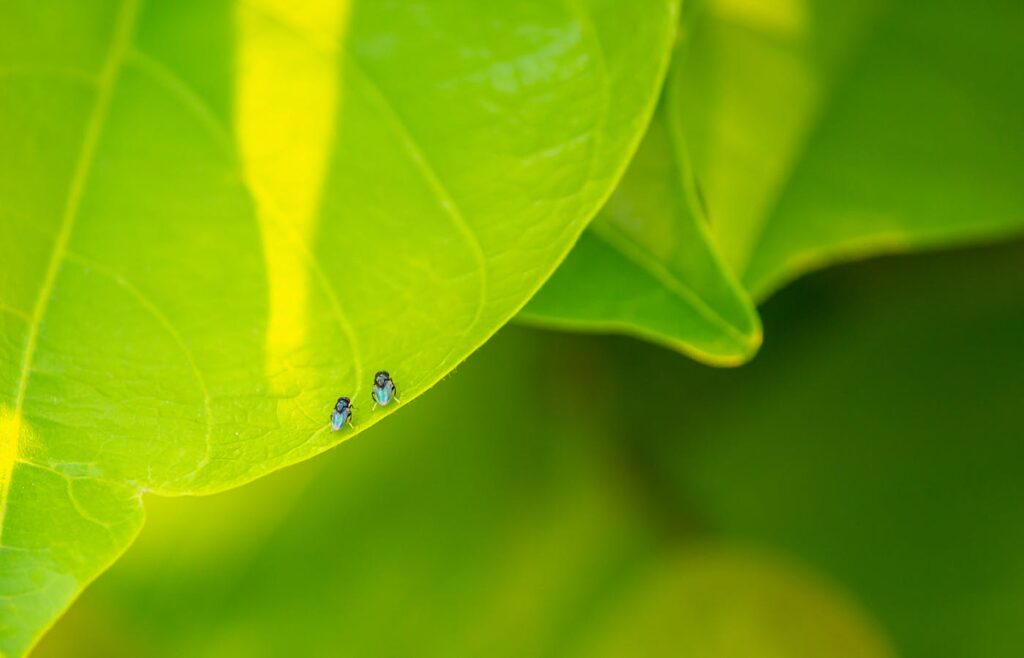
You do not need to name every insect perfectly before taking basic action, but visible clues help you choose the right response. Fungus gnats usually fly from damp potting mix and look like tiny dark flies. Spider mites are very small and may leave fine webbing, pale speckling, or dusty-looking leaves. Mealybugs look like soft white cottony patches in leaf joints.
Scale insects often look like small brown or tan bumps stuck to stems or leaf undersides. Aphids cluster on tender new growth and may leave sticky residue. Thrips can cause silvery streaks, black specks, and distorted new leaves. If the clue does not match, keep observing rather than forcing the plant into the wrong treatment plan.
The clue matters more than the label on the first day. Once you know whether the problem is in the soil, on new growth, or under the leaves, the next step becomes much less random.
| Clue | Likely direction | First check |
|---|---|---|
| Tiny flies near soil | Fungus gnats | Wet potting mix |
| Fine webbing or pale speckles | Spider mites | Undersides of leaves |
| White cottony patches | Mealybugs | Leaf joints and stems |
| Sticky leaves or shelf | Scale, aphids, or mealybugs | Stems and new growth |
Clean leaves before reaching for stronger treatment
For many small pest problems, a careful wash removes a surprising number of insects. Wipe leaves with a damp cloth, rinse sturdy plants in a sink or shower, and support delicate stems while cleaning. Pay attention to leaf undersides and the places where stems meet because pests often hide where casual watering never reaches. If damage shows up mostly at the edges, compare the pest signs with brown-leaf-tip care before assuming insects are the only cause.
Use room-temperature water and avoid blasting the plant with pressure that tears leaves or pushes soil everywhere. If the plant has fuzzy leaves, fragile foliage, or a crown that rots easily, wipe more carefully instead of soaking it. Cleaning is both treatment and inspection; it lets you see whether the problem is light, moderate, or already widespread.
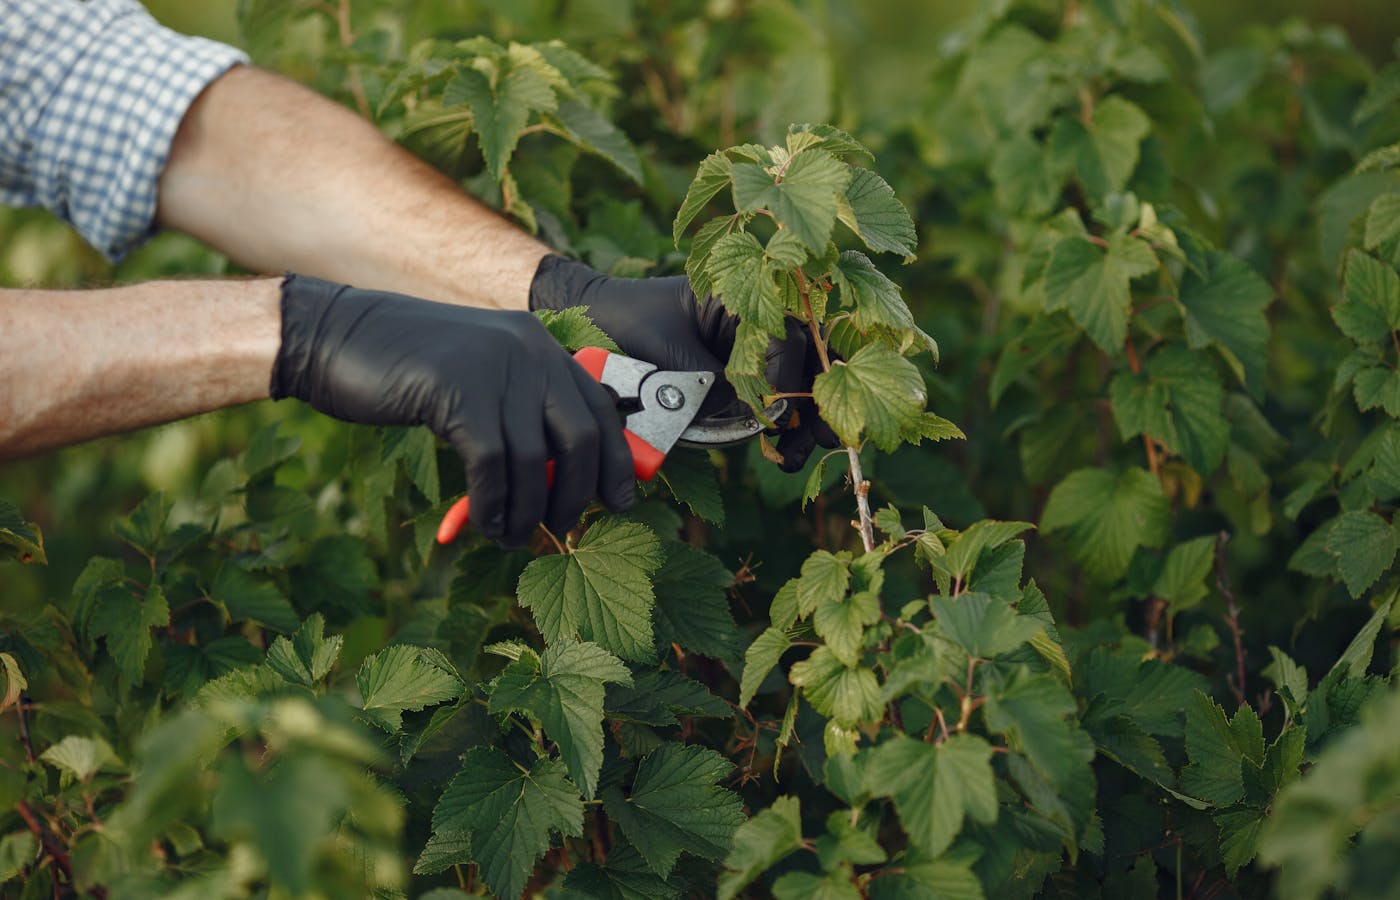
After cleaning, remove badly damaged leaves only if they are not helping the plant. Do not strip every imperfect leaf for appearance. The goal is to reduce pest pressure while keeping enough healthy foliage for recovery.
Match the response to the pest and the plant
Fungus gnats usually point to soil that is staying too wet. Let the top layer dry more between waterings when the plant allows it, remove decaying leaves from the pot, and consider sticky traps to monitor adults. The larvae live in the moist mix, so spraying leaves alone will not solve the source.
Spider mites and aphids often respond to repeated rinsing and wiping, especially early. Mealybugs can be dabbed carefully from stems and leaf joints with cotton swabs, then followed with repeated inspection. Scale is more stubborn because the insects attach firmly, so manual removal and follow-up checks matter. Any soap, oil, or commercial product should be tested on a small area first because some plants react badly.
Treat the plant you have, not just the pest name. Thin leaves, fuzzy leaves, and stressed roots all change what is safe.
Repeat checks because eggs and hidden insects survive
A pest routine fails when it stops too early. Adults may disappear after cleaning while eggs, larvae, or hidden insects remain. Check the plant every few days at first, then weekly as the problem improves. Look at new leaves, not only the damaged older leaves, because fresh growth tells you whether the plant is still under attack.
Use a simple repeat plan:
- Inspect leaf undersides, stems, new growth, and soil.
- Remove visible pests by wiping, rinsing, or dabbing.
- Adjust watering or spacing if the pest clue points there.
- Keep the plant isolated while pests are still appearing.
- Repeat until new growth stays clean through several checks.
Take one photo before treatment and another a week later. It sounds fussy, but it helps you see whether speckling is spreading, webbing is returning, or sticky residue is still appearing. Memory is unreliable when you are worried about a favorite plant.
Prevent new pest problems with calmer plant habits
Prevention is mostly about reducing the conditions that let pests settle unnoticed. Give plants enough space for air movement, remove dead leaves from soil, avoid constantly wet potting mix, and inspect new plants before placing them beside established ones. A short quarantine for new purchases can feel inconvenient, but it is easier than treating every plant on the shelf.
Do not over-fertilize stressed plants. Tender new growth can attract sap-feeding pests, and a weak root system may not handle extra fertilizer well. Keep the plant steady first: correct light, sensible watering, clean leaves, and a pot that drains. Stronger growth is not a guarantee against pests, but it gives the plant a better chance to recover.
Check problem-prone plants when seasons change. Indoor heating, dry air, crowded winter windowsills, and overwatered pots can all shift pest pressure. A two-minute leaf check while watering is often enough to catch a problem before it becomes dramatic.
Know when a plant needs more than beginner treatment
Some infestations are too heavy for gentle cleaning alone. If insects return quickly after several careful rounds, if new leaves keep coming out distorted, or if multiple plants are involved, use a labeled houseplant pest product that matches the pest and the plant. Read the instructions instead of guessing the dose. More product is not safer and may damage leaves or soil life.
For edible herbs, be extra careful with anything applied to leaves. Check whether the product is appropriate for edible plants and follow the waiting period on the label. If a small herb plant is badly infested, replacing it may be more practical than trying to rescue every stem.
Common houseplant pests are frustrating, but they are not a personal failure. Separate the plant, identify the clue, clean what you can see, repeat the check, and make the growing conditions less inviting. That patient routine usually works better than one rushed rescue attempt.