How to Clean and Store Garden Tools
Garden tools get harder to use little by little: soil dries onto a trowel, pruners stick, a handle roughens, or a hose is kinked.
Learning how to clean and store garden tools is a small habit with a big payoff. Clean tools cut better, carry fewer plant problems, and are easier to find.
I treat tool care as part of gardening, not as a separate chore. A few quiet minutes after using tools usually saves a rescue session later.
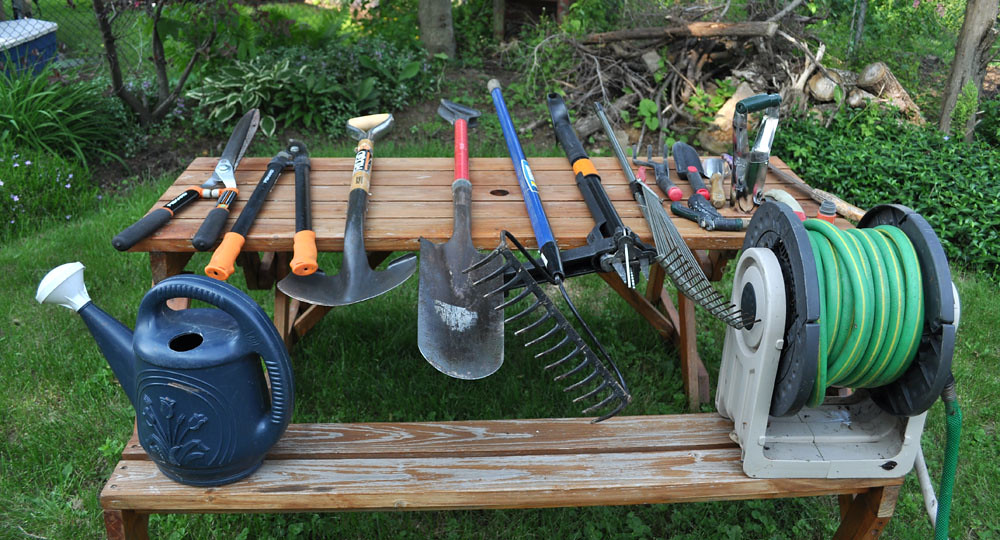
Brush off dry soil before washing
Dry soil is easier to remove than wet mud. If a trowel, cultivator, rake, or hand fork is covered after use, let the loose soil dry briefly, then brush it away with a stiff brush, rag, or old towel. This keeps you from turning every cleanup into a muddy sink job.
Do not store tools with clumps of soil still attached. Soil holds moisture against metal and can hide damage near joints, screws, and blade edges. It also makes the next task messier because the old dirt falls into pots, trays, shelves, or storage bins.
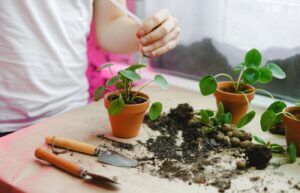
For container gardeners, this step matters even if the tools look only slightly dusty. Potting mix can wedge into seams and around handles. A quick brush keeps the tool lighter in the hand and makes it easier to spot rust, cracks, bent tips, or loose handles before they become bigger problems.
A simple brush station helps. Keep a hand brush, rag, and small bucket near the place where tools come back inside. If cleaning supplies are buried somewhere else, the tools are more likely to be dropped on a shelf and forgotten.
Wash tools when soil or sap stays stuck
Some dirt needs water. Clay soil, sticky compost, sap, fertilizer residue, and wet potting mix can cling after brushing. When that happens, rinse the tool with water and scrub only the dirty area. You do not need to soak every tool after every light job.
Use mild soap for stubborn grime, then rinse well. Avoid leaving metal parts sitting in water while you answer messages or start another task. Soaking can loosen dirt, but forgotten soaking can also invite rust, especially around hinges, screws, and blade joints.
| Tool area | Cleaning step | Storage risk if skipped |
|---|---|---|
| Trowel blade | Brush, rinse, and dry | Rust spots and soil buildup |
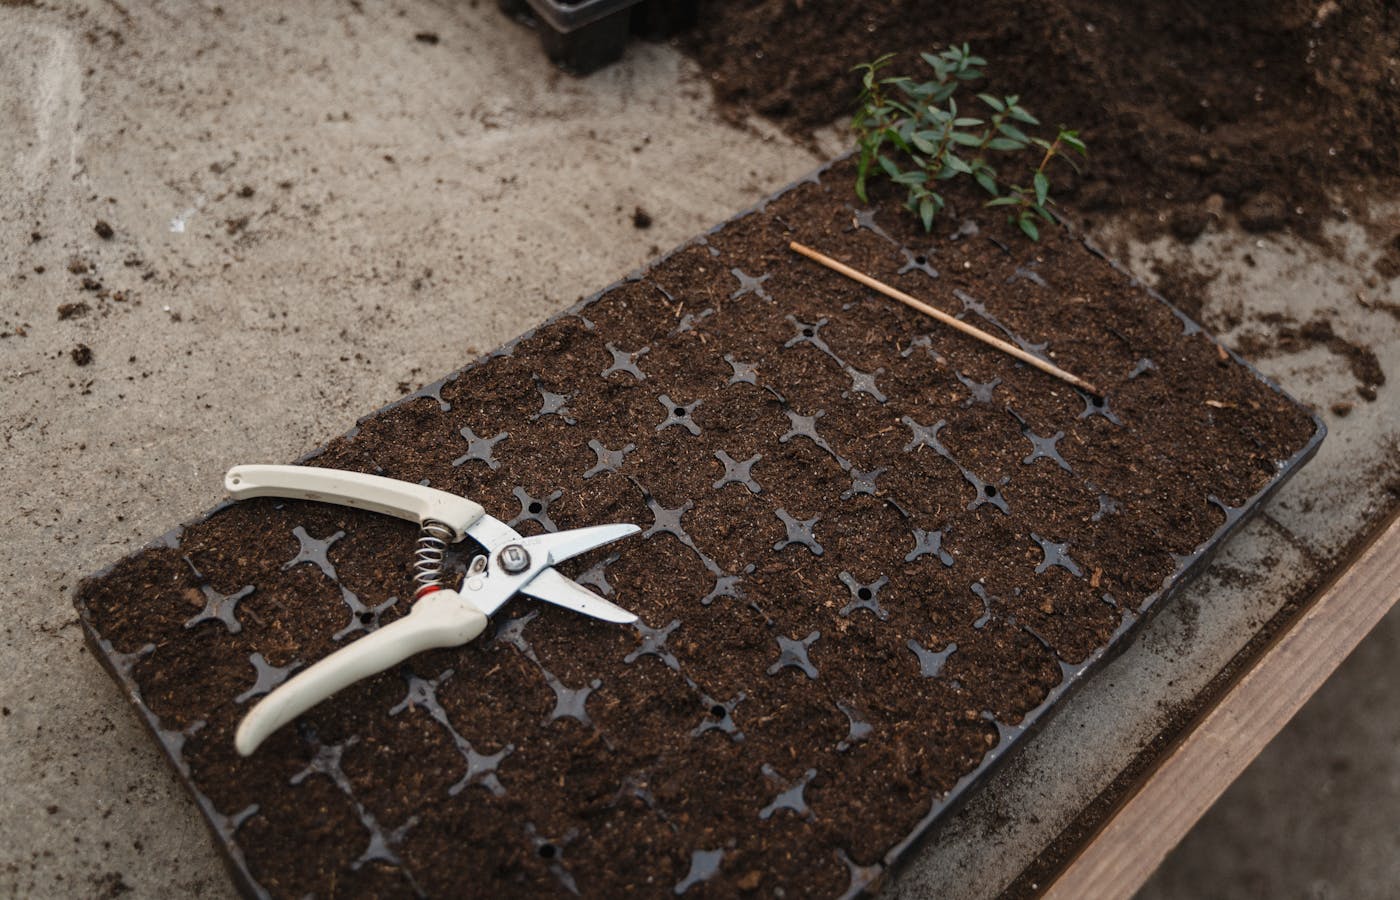
| Pruner hinge | Wipe sap and grit from the joint | Sticky movement and rough cuts |
| Wood handle | Wipe dirt without soaking | Splitting, rough spots, or mildew |
| Hose end | Clear soil before winding | Clogged nozzle or wet storage mess |
Be careful with wooden handles. They can be wiped with a damp cloth, but they should not be left wet. If a handle feels rough, drying it fully before storage matters more than making it look spotless.
Dry metal before rust has a chance
Drying is the step beginners skip most often. A tool can look clean and still be wet enough to rust in a closed bucket, plastic bin, or shed corner. After washing, wipe metal parts with a dry rag and leave the tool where air can reach it before putting it away.
Pay attention to hinges, bolts, teeth, blade backs, and the area where metal meets the handle. Water collects in those spots. If you store the tool while those parts are damp, rust can start in places that are hard to clean later.
Rust prevention is not complicated. Clean off soil, dry the tool, and avoid sealed damp storage. For tools used often, that may be enough. For pruners, snips, and tools that sit unused between seasons, a light protective wipe can help, especially in humid homes or sheds.
Do not panic over one tiny rust spot. Remove it early with a suitable abrasive pad or brush, then dry and protect the metal. The problem is ignoring rust until it changes an edge or makes a joint difficult to move.
Disinfect blades after problem plants
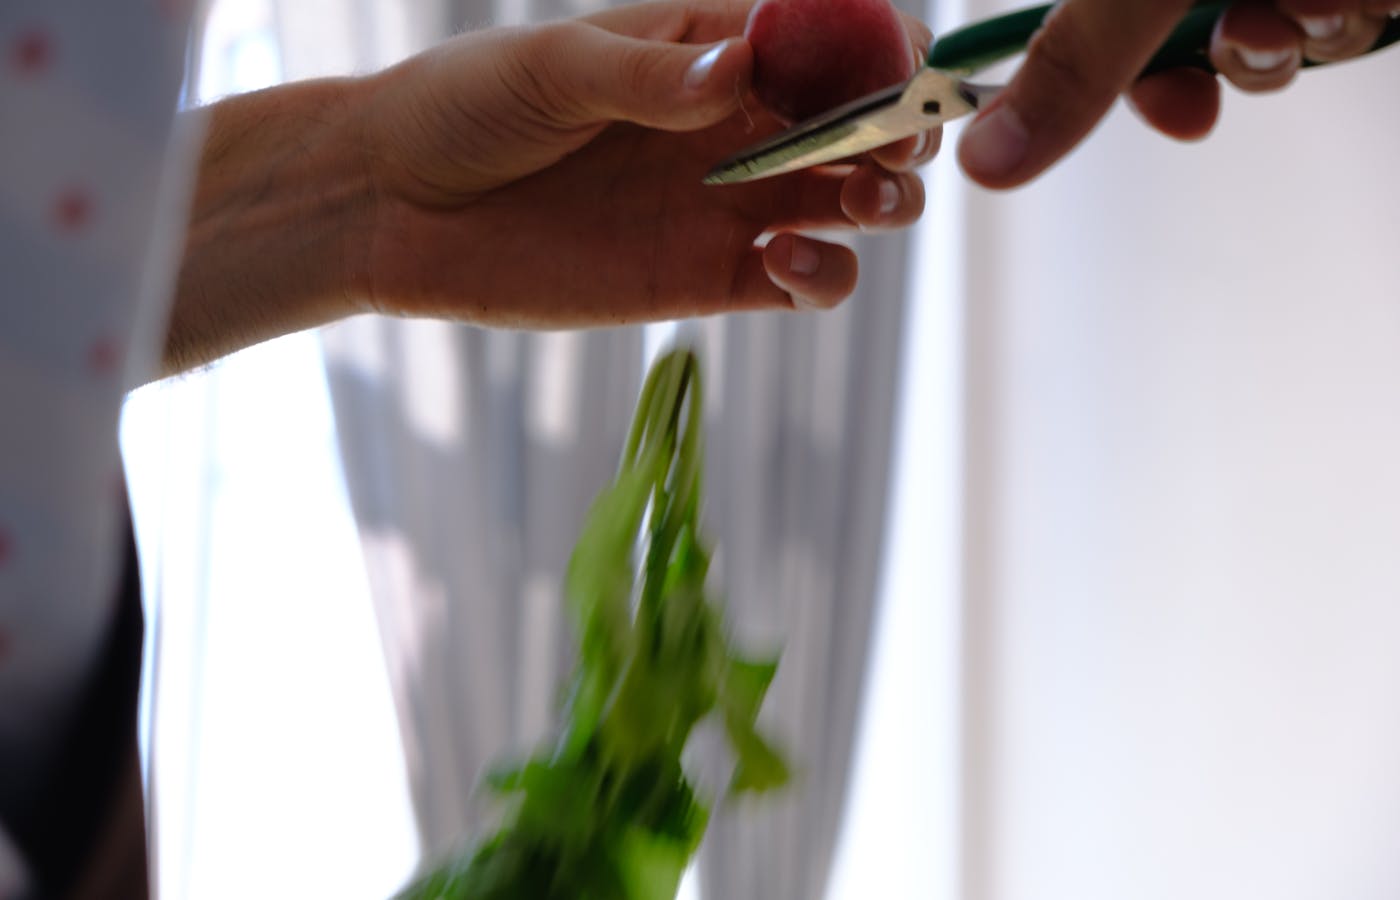
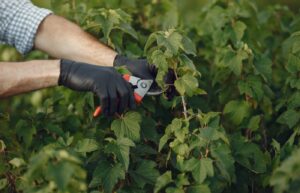
Pruners, snips, knives, and saws need extra attention because they touch living plant tissue. If you cut a plant with spots, rot, sticky residue, pests, or unknown disease symptoms, clean the blade before using it on another plant. That small pause can reduce the chance of spreading trouble.
First remove soil and sap. Disinfecting a dirty blade is less useful because residue can block the surface. After the blade is clean, use a disinfecting method appropriate for your tool and comfort level, then dry the metal before storing it. The exact product matters less than following its directions and not leaving moisture trapped in the joint.
Sticky sap deserves patience. Wipe it before it hardens, especially near the hinge. If the pruners start opening slowly, the issue may be sap and grit rather than a broken spring. Cleaning the joint often brings the tool back to normal.
Keep this step practical. You do not need a laboratory routine after cutting one healthy basil stem. You do need a clear habit after pruning diseased leaves, rotting stems, pest-covered growth, or any plant that looks questionable.
Oil moving parts without overdoing it
Oil helps hinges, springs, and exposed metal, but more is not always better. A heavy coat can collect dust and soil, making the next cleanup harder. Use a small amount on moving parts after the tool is clean and dry, then wipe away extra oil before storage.
Pruners and snips benefit most from this habit. Open and close the tool a few times after oiling so the hinge moves smoothly. If the blades still scrape or stick, look for sap, a bent part, loose screw, or dull edge before assuming the tool needs replacement.
Wood handles may need a different kind of care. If a handle is dry, rough, or beginning to splinter, sand lightly and use a handle-safe oil if that fits the material. Do not coat rubber grips, painted handles, or plastic parts with random oils just because they are nearby.
The goal is controlled maintenance, not shine or a glossy finish. A tool should feel smooth, dry enough to hold, and ready to use. If your hand comes away oily or the tool attracts grit, wipe it again.
Store hand tools where air can reach them
Small garden tools are easy to lose because they fit everywhere: a potting bench drawer, a basket, a shelf, a balcony bin, or a kitchen cabinet near houseplants. The best place is not always the prettiest place. It is the place that keeps tools dry, visible, and close to the work.
A closed plastic bin can work if the tools are fully dry before they go inside. If tools are often damp, a hanging rack, open basket, pegboard, or shallow tray with airflow may be safer for routine storage. Trapped moisture is the enemy, especially for metal tools and wood handles.
Group hand tools by task if you have more than a few. Keep repotting tools together, pruning tools together, and watering accessories together. This saves time because you are not digging past gloves, labels, twine, and half-empty seed packets every time you need one trowel.
A storage system only works if tools return to it easily. If the spot requires moving three things out of the way, the tools will end up somewhere else. Choose access before decoration.
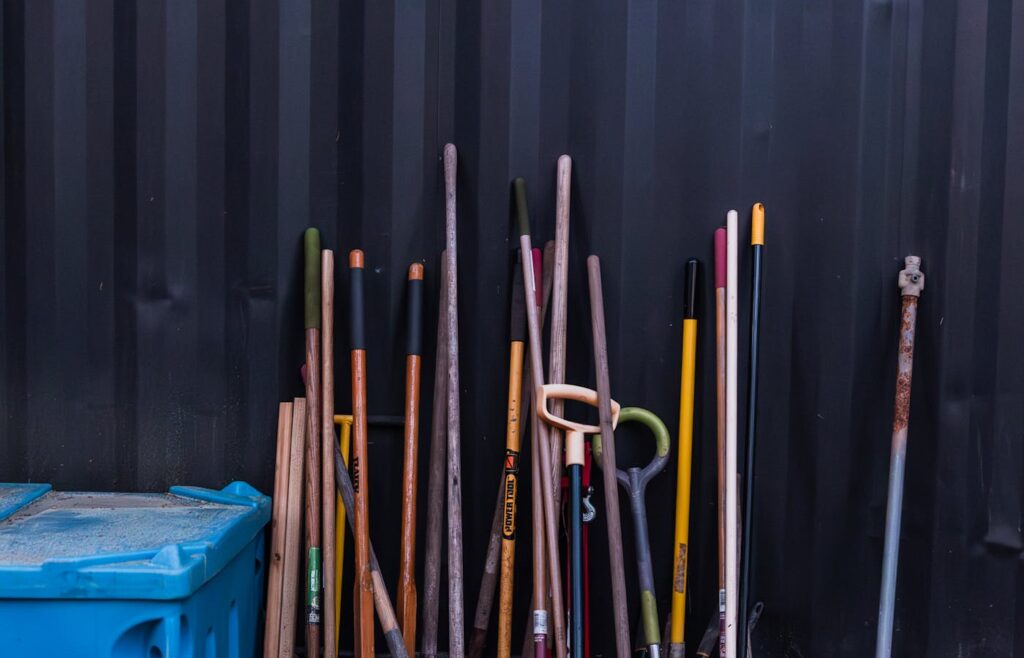
Hang long handled tools safely
Rakes, hoes, brooms, shovels, and long cultivators should not become a pile on the floor. Piled tools can bend, scratch each other, trap moisture, and fall when someone reaches for one handle. A simple wall rack or sturdy hooks can make them safer and easier to inspect.
Store sharp or heavy ends with care. A blade leaning outward at ankle height is not a harmless detail. Put cutting edges away from walkways, keep handles from blocking doors, and leave enough space to lift one tool without knocking down three others.
If you rent or cannot drill into walls, use a freestanding rack, tall bucket with weight at the bottom, or a corner setup that keeps handles upright. The key is stability. Long tools should not slide every time the floor is swept or a hose is moved.
Check this area seasonally. Long handled tools often collect spiderwebs, damp leaves, and old soil near the head. A quick wipe before storage and a quick check before use keeps the tool area from becoming a forgotten, unsafe corner near paths or doors.
Separate seasonal tools before they disappear
Some tools are used every week. Others appear for one season and then vanish into the back of a shelf. Seed trays, labels, bulb planters, twine, plant ties, and spare nozzles can all become hidden clutter if they live in the same container as daily tools.
Separate daily, seasonal, and repair items. Daily tools should be easiest to grab. Seasonal supplies can sit higher or farther back if they are labeled clearly. Repair items, such as replacement blades or sharpening tools, should stay together so maintenance does not become a scattered scavenger hunt later.
A small checklist keeps storage honest:
- Daily hand tools are clean, dry, and visible.
- Sharp tools are closed or covered before storage.
- Long handled tools stand or hang without sliding.
- Hoses are drained enough that water is not trapped in a coil.
- Seasonal supplies are grouped and labeled by task.
This is not about building a fancy shed. It is about making the next gardening session easier. If the tool you need is visible, dry, and safe to reach, the storage system is doing its job.
Build a ten minute tool reset routine
The simplest way to maintain tools is to reset them after each messy session. Ten minutes is usually enough for a small home garden, balcony setup, or indoor plant corner. The trick is doing it before the soil hardens, the hose stays kinked, or the pruners disappear into another room.
Use this quick routine:
- Return all tools to one surface before putting anything away.
- Brush off loose soil and plant bits while they are easy to remove.
- Wash only the tools with sticky, wet, or stubborn residue.
- Dry metal parts, hinges, and handles before storage.
- Oil moving parts only when they feel dry, stiff, or exposed.
- Put daily tools back where they are visible and easy to reach.
Once a month, add a deeper check. Look for dull blades, loose screws, cracked handles, rust spots, and missing labels. Small fixes are easier when noticed early. A loose pruner screw can become a replacement purchase if ignored all season.
Clean tools make gardening feel lighter. You cut with less force, dig with less frustration, and spend less time searching. Keep the routine small, keep storage dry, and your tools will serve the garden longer.