How to Fix Overwatered Indoor Plants
Overwatering usually starts with good intentions. You see a plant looking tired, the soil feels confusing, and adding water seems like the safest way to help. Then the leaves droop more, the pot stays wet, and the plant begins to look worse even though you have been paying attention.
Learning how to fix overwatered indoor plants starts with slowing down. The plant may not need more action right away. It may need air around the roots, brighter indirect light, drainage that actually works, and enough time for the soil to stop acting like a sponge.
The first rescue step is not watering less forever; it is figuring out how wet the root zone really is today. Once you know that, the next choice becomes much clearer.
Confirm that the indoor plant is actually overwatered
Drooping leaves can mean too much water, too little water, heat stress, root damage, or a sudden light change. That is why the soil check matters before you diagnose the plant by leaves alone. Push a finger, wooden skewer, or moisture meter deeper than the surface. The top may look dry while the lower soil is still heavy and wet.
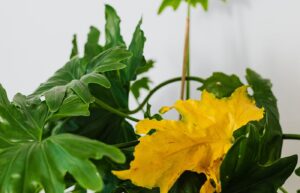
Overwatered indoor plants often have soil that stays damp for many days, a pot that feels unusually heavy, yellowing lower leaves, soft stems, mushy leaf bases, or a sour smell near the soil. Some plants also drop leaves while the mix is still wet, which can trick a beginner into watering again.
Check the timeline too. If the plant was watered recently and has not been in bright enough light to use that moisture, overwatering becomes more likely. If the plant is in a decorative outer pot, lift the nursery pot and see whether water is trapped underneath.
Stop watering and improve airflow around the pot
Once you suspect overwatering, stop adding water until the root zone has a chance to breathe. This sounds obvious, but it is the step people skip because the plant still looks stressed. A wet, stressed plant does not recover faster because more water is added. It usually declines faster.
Move the plant to bright indirect light if that is appropriate for the species, and make sure air can move around the pot. Do not put a struggling indoor plant into harsh direct sun as a panic move; wet roots and sudden sun can create a second stress problem. The goal is steady drying, not shock.
- Empty any water sitting in a cachepot, saucer, or tray.
- Lift the inner nursery pot so excess water can drain fully.
- Remove decorative moss or stones if they keep the surface wet.
- Keep the plant away from cold drafts while the soil dries.
- Wait before fertilizing, because damaged roots may not handle it well.
If the plant perks up as the soil dries, you may not need repotting. If the soil smells bad, the stem feels soft, or leaves keep yellowing while the pot remains wet, inspect the roots.
Check drainage before blaming your watering routine
Overwatering is not always about watering too often. Sometimes the potting mix holds too much moisture, the pot has no drainage hole, or the plant sits inside a decorative container that traps runoff. In those cases, even a careful person can end up with soggy roots.
Look at the container first. A drainage hole is not optional for most indoor plants. If the pot has a hole, check whether it is blocked by compacted soil, roots, or a plastic liner. If the plant lives in a nursery pot inside a decorative pot, make sure the inner pot is not sitting in leftover water after each watering.
The potting mix matters too. Dense soil, old compacted mix, or a peat-heavy blend can stay wet long after the plant has used what it needs. A better mix often includes materials that create air spaces, such as perlite, bark, pumice, or a species-appropriate cactus or orchid component.
A watering schedule cannot fix a pot that never lets water leave. Drainage and soil structure decide how forgiving your routine can be.
Inspect the roots if the soil stays wet too long
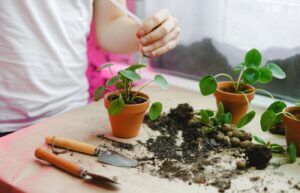
Root inspection is worth doing when the plant keeps declining or the soil has stayed wet for a long stretch. Slide the plant gently from the pot and look at the root ball. Healthy roots are usually firm and lighter in color, though exact color depends on the plant. Troubled roots may look brown, black, mushy, hollow, or slimy.
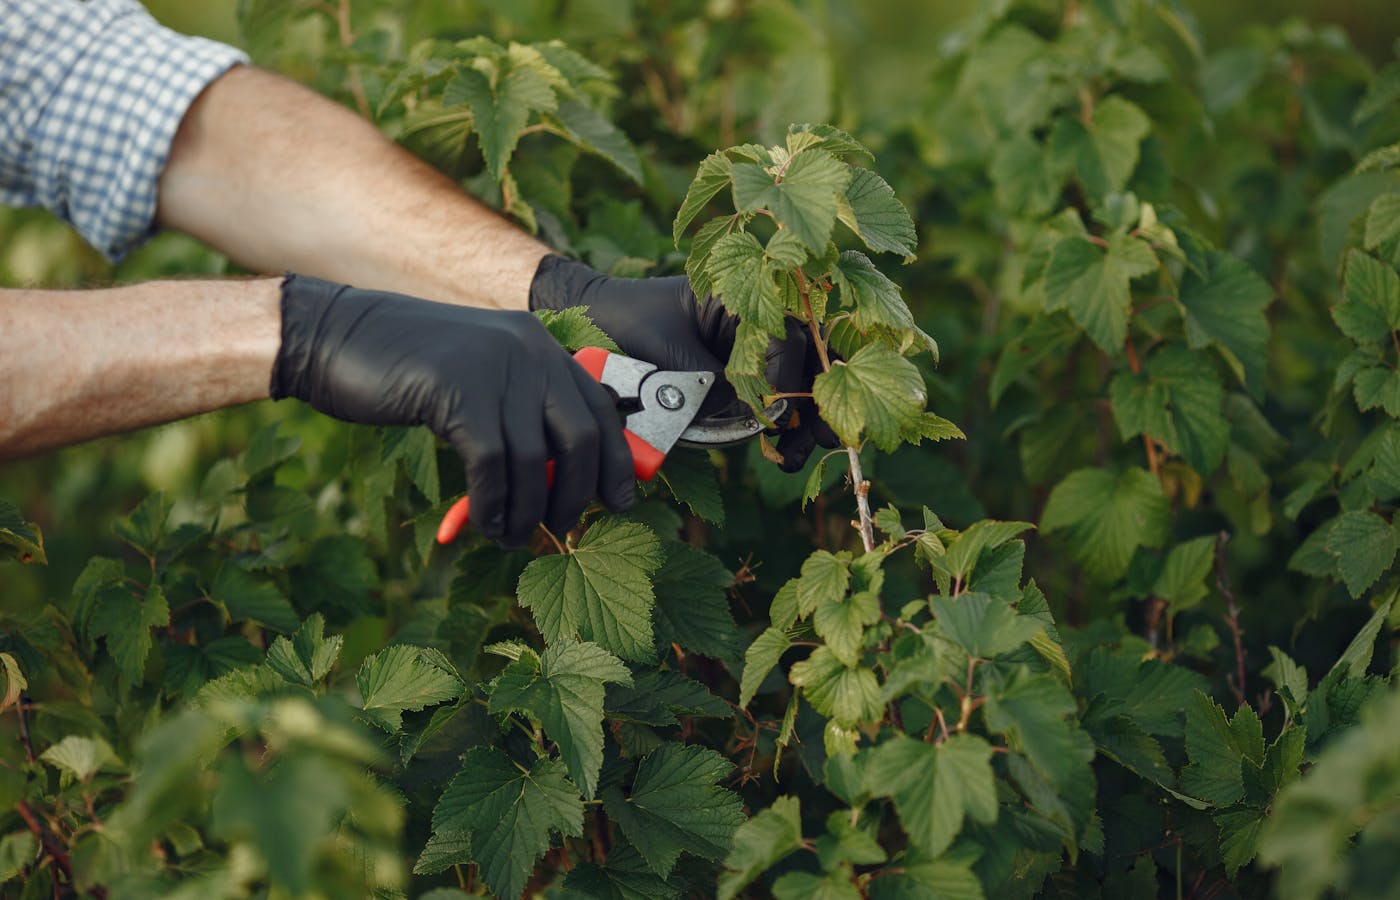
If only the outer soil is too wet and roots still look firm, you may be able to return the plant to the same pot after loosening compacted soil and letting the mix dry a bit. If the roots are soft or smell rotten, trim the damaged parts with clean scissors and repot into a fresh, better-draining mix.
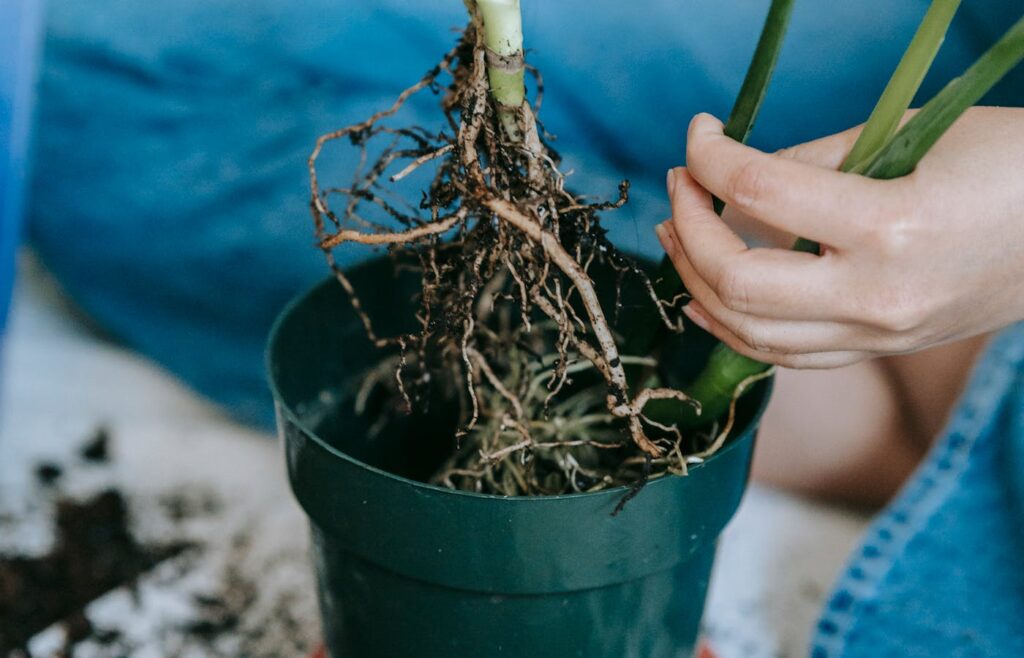
Do not remove every bit of soil unless the mix is foul or the roots are clearly rotting. Indoor plants are already stressed at this point. The goal is to remove the wettest, most damaged conditions while keeping enough healthy roots intact for recovery.
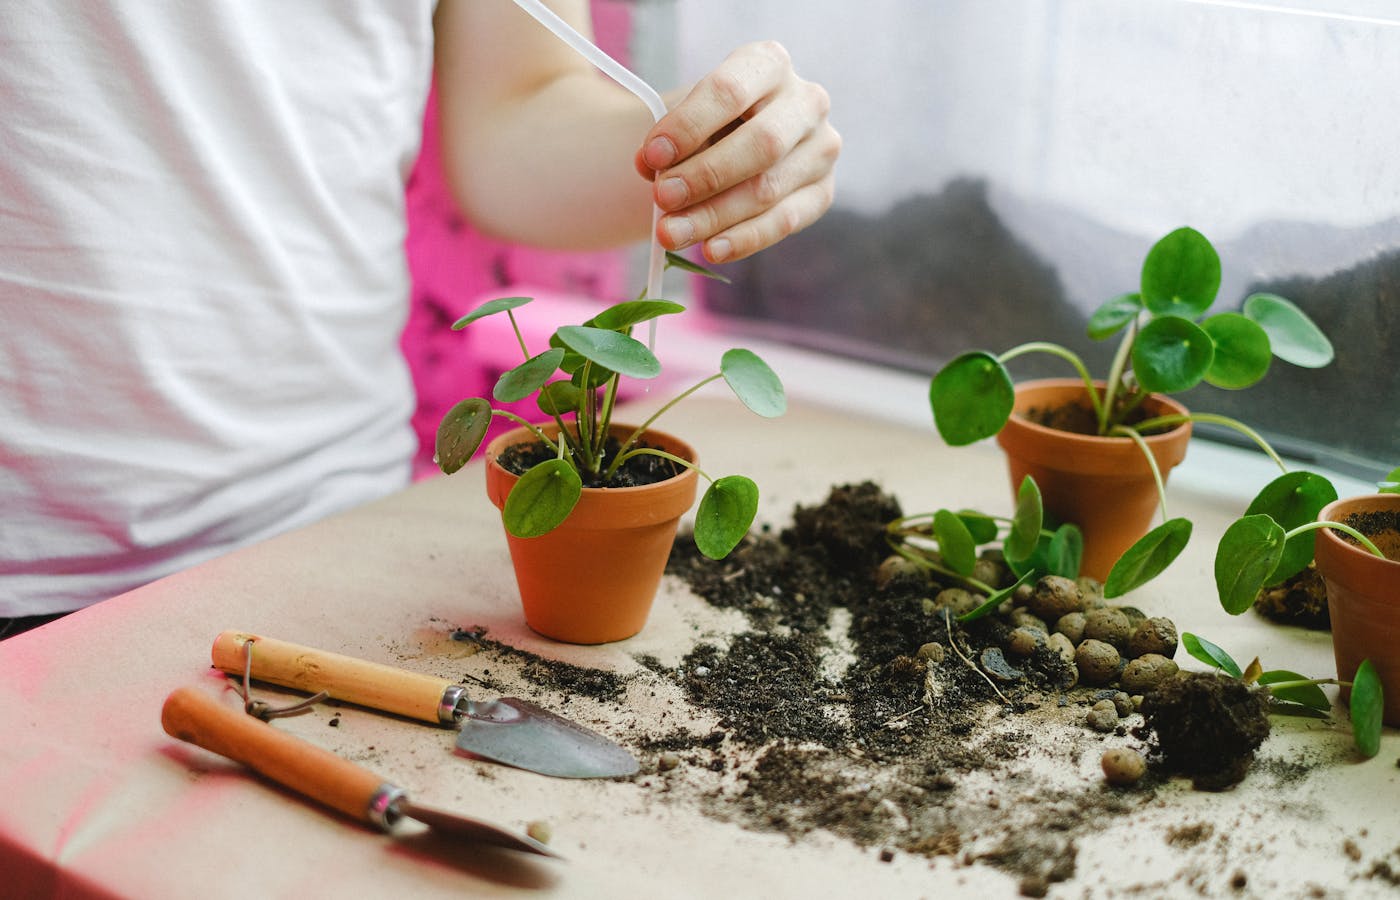
Repot overwatered indoor plants only when it helps
Repotting is useful when the pot has poor drainage, the soil is sour or compacted, or the roots show rot. It is not automatically useful for every overwatered plant. If the plant is mildly overwatered and the roots look healthy, repotting can add unnecessary stress.
When repotting is needed, choose a pot with drainage and avoid going much larger than the current root ball. A larger pot holds more soil, and more soil holds more water. Fresh mix should match the plant’s needs: airier for many tropical houseplants, gritty for succulents, and very loose for plants that hate sitting wet.
Use this rescue sequence when roots show damage:
- Remove the plant gently and brush away the wettest loose soil.
- Trim mushy or hollow roots with clean scissors.
- Choose a clean pot with a working drainage hole.
- Add fresh, airy potting mix around the remaining roots.
- Water lightly only if the new mix is very dry and the plant needs settling.
- Keep the plant in bright indirect light while it recovers.
Recovery is measured in new stable growth, not in how quickly the old damaged leaves look perfect.
Reset your indoor plant watering habit after recovery
After the plant is stable, build a watering habit around soil checks instead of a fixed calendar. Calendars are useful reminders to look at the plant, but they should not be automatic permission to water. Light, season, pot size, temperature, humidity, and plant type all change how fast soil dries.
Before watering, check deeper than the surface and notice the pot weight. Many indoor plants prefer to dry partly between waterings, while succulents and cacti often need a more complete dry-down. If you are unsure, wait a little longer and observe the plant rather than watering because the calendar says so.
- Use a pot with drainage for plants that are not semi-hydro or aquatic setups.
- Water thoroughly when the plant is ready, then let extra water drain.
- Do not leave runoff sitting under the pot.
- Adjust watering when light or season changes.
- Track one plant for a few weeks to learn its real drying rhythm.
Fixing overwatered indoor plants is mostly about removing the conditions that keep roots wet for too long. Confirm the problem, stop watering, check drainage, inspect roots only when needed, and reset the routine once the plant has stabilized. The plant may not bounce back overnight, but a calmer process gives it the best chance to recover.