Best Soil Test Kits for Beginner Gardeners
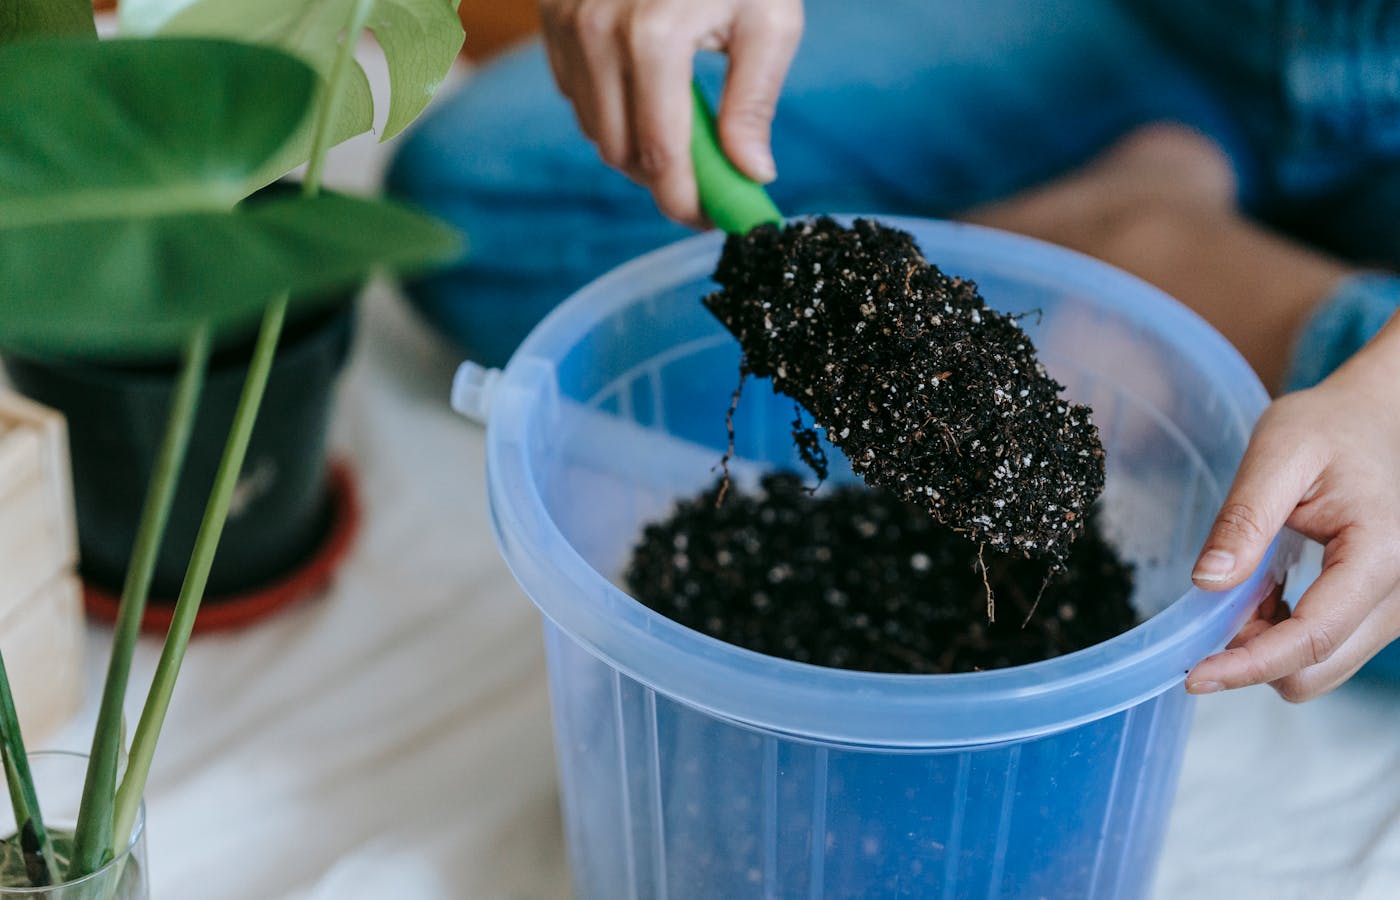
Soil can look fine on the surface while still being too acidic, too alkaline, low in nutrients, or uneven from one bed to another. For a new gardener, guessing can lead to buying fertilizer, lime, compost, or potting mix without knowing what the plants actually need.
The best soil test kits for beginner gardeners make the first decisions calmer. A useful kit explains what to sample, how to read the result, and what the result means before you change the soil. It should help you learn the garden, not turn one reading into a panic project.
Start with the kit that matches your garden size, patience, and questions. A balcony herb pot, a raised vegetable bed, and a struggling flower border do not always need the same level of detail.
Know what a beginner soil test kit should tell you
A beginner soil test kit should answer a clear question. Most gardeners first need to know soil pH, because pH affects how easily plants can use nutrients that may already be present. Some kits also estimate nitrogen, phosphorus, and potassium, which are the main nutrients listed on fertilizer labels. More detailed lab tests may report organic matter, texture, salts, or micronutrients.
The best first kit is not always the one with the longest list of numbers. A simple kit that you can use correctly is more valuable than a complicated one that sits unopened in a drawer. Look for plain instructions, a readable color chart or display, and enough tests to compare more than one area.
Think about where you will use the results. If you are choosing fertilizer for potted herbs, a basic pH check plus close plant observation may be enough. If you are preparing a vegetable bed for several seasons, a broader nutrient test can save money and reduce random amendments.
A soil test is a decision tool, not a grade for the garden. It helps you adjust one thing at a time instead of changing water, fertilizer, compost, and plant choice all at once.
Before buying, decide whether your main question is pH, nutrients, or a deeper diagnosis. That choice points you toward the right kind of kit.
Compare pH strips, probes, and mail-in soil tests
Soil test kits usually fall into three beginner-friendly groups: color-based home kits, probe meters, and mail-in lab tests. Each one can be useful when expectations are realistic. Color kits often use capsules, liquids, or strips that react with a soil-and-water mixture. They are inexpensive and good for learning, but the color comparison can feel subjective. Before blaming soil, also learn how to tell if a plant needs more light, because weak growth can come from more than one condition.
Probe meters are quick because they are pushed into moist soil and read on a dial or digital screen. They are convenient for repeated checks, especially in containers, but cheap probes can be inconsistent if the soil is dry, compacted, or not cleaned between uses. They are best treated as a quick guide, not the final answer to every garden problem.
Mail-in soil tests take longer, but they usually give the clearest recommendations. They are helpful before building a new bed, fixing a long-term problem, or growing food crops where you want a fuller picture.
| Kit type | Best use | Watch carefully |
|---|---|---|
| pH strips or capsules | Simple pH checks for pots and small beds | Color charts can be hard to compare |
| Probe meter | Fast repeated checks in moist soil | Needs clean probes and steady moisture |
| Nutrient home kit | Basic NPK estimates before fertilizing | Results are approximate |
| Mail-in lab test | New beds, vegetables, and persistent issues | Costs more and takes longer |
If you are buying only one tool, choose the format you will actually use twice, not the format that looks most scientific on the package. Soil readings matter most when they are matched to real growing conditions, including whether you are choosing balcony plants for full sun or plants for a cooler, shadier spot.
Choose instructions you can read and repeat
The most beginner-friendly soil test kit has instructions that feel almost boring. That is a compliment. Soil testing depends on small repeatable steps: collecting the sample from the right depth, removing stones and roots, mixing soil evenly, using the correct amount of water, waiting the right time, and reading the result in good light.
A kit with vague directions can produce results that change every time you test. If the instructions do not explain sample depth, wait time, cleaning, or how many areas to combine, beginners may blame the soil when the real issue is the method. Clear directions are especially important for nutrient kits, where small measurement differences can shift a color reading.
Useful instruction features include:
- a simple sample depth guide for pots, beds, or lawns;
- a clear chart showing how much soil and water to use;
- separate steps for pH and nutrient testing;
- readable colors, numbers, or digital results;
- basic notes about what to do after a low or high reading.
Also check how many tests are included. A kit with only one or two tests may not let you compare the vegetable bed with the flower border. Beginners learn more from patterns than from a single reading.
Repeatability matters more than speed. A ten-minute test is only useful if you can perform it the same way next month and compare the result with confidence.
Match the soil test kit to your garden setup
A container gardener does not need the same kit as someone preparing several raised beds. Potting mix changes quickly because water and fertilizer move through a small amount of soil. A pH probe or simple color pH kit may be enough for checking whether a container mix has drifted far from the range most herbs, vegetables, and flowers prefer.
Raised beds often deserve a more complete look, especially when you add compost, bagged soil, manure, or fertilizer from different sources. A home nutrient kit can show whether you may be overfeeding one nutrient while missing another. A mail-in test is useful before the first big season because it gives a baseline you can keep in a notebook.
In-ground garden beds are the best reason to consider a lab test. Native soil can vary from one corner of the yard to another, and long-term amendments change slowly. If a plant problem keeps returning, a detailed test may reveal pH or nutrient imbalances that are not visible from the leaves alone.
The right soil test kit is the one that matches the decision you are about to make.
Do not buy a complicated kit only because it feels serious. Buy the level of information you can turn into a careful next step.
Store soil testing supplies so results stay reliable
Soil test kits are small garden tools, and they need basic care. Strips, capsules, liquids, and reference charts can be damaged by heat, moisture, light, and dirt. A kit kept open on a potting bench may not perform the same way months later. Store it in a dry indoor spot where the parts stay clean and easy to find.
Probe meters need a different kind of care. Wipe the probe after each use, avoid forcing it through stones or dense roots, and check whether the instructions mention calibration or battery replacement. A dirty probe can carry salts, fertilizer, or old soil from one pot to another and make readings less trustworthy.
Good storage habits include:
- keeping color charts flat and away from water spots;
- closing bottles, capsules, or strip containers right after use;
- washing scoops or sample cups before putting them away;
- labeling the kit with the purchase date if it has reagents;
- storing notes from each test with the garden journal.
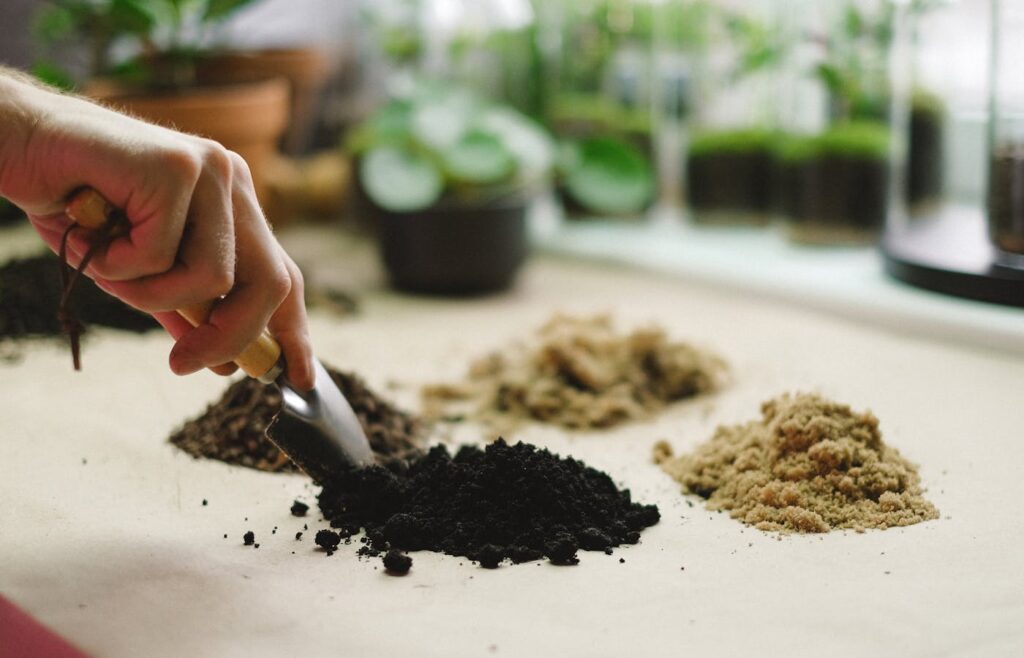
A reliable kit is easier to trust. When supplies stay organized, you are more likely to retest before adding another amendment.
Use one simple soil testing routine before changing fertilizer
The most common beginner mistake is testing once and immediately changing too much. Soil improves best when changes are small, measured, and connected to a real plant goal. Test before a major planting season, after adding a large amount of compost or amendments, or when several plants show the same problem in the same bed.
Use the same routine each time so the results are easier to compare. Write down the date, location, kit type, weather, recent fertilizer, and result. If the test suggests a change, adjust one thing and give plants time to respond. Some amendments work slowly, especially pH changes in garden beds.
Try this beginner soil testing routine:
- Choose one area, such as one pot, bed, or border.
- Collect soil from the depth recommended by the kit.
- Remove stones, mulch, roots, and fresh fertilizer pieces.
- Mix the sample well before testing.
- Follow the kit timing exactly.
- Record the result before making changes.
- Adjust one amendment, then retest later if needed.
Soil testing is most useful when paired with observation. Look at leaf color, growth, drainage, watering habits, and plant choice before assuming every issue is a nutrient problem. The best kit gives you evidence, but your garden routine turns that evidence into healthier soil.