Seed Starting Supplies Checklist
Starting seeds at home can feel like a shopping project before it feels like gardening. Trays, domes, lights, mats, labels, sprays, pots, soil bags, and seed packets all look useful when you are new. A seed starting supplies checklist helps separate the items that support healthy seedlings from the items that can wait.
The basic setup is simple: clean containers, a light seed starting mix, clear labels, steady moisture, enough light, and a place where trays can sit undisturbed. Extra tools can make the process easier, but they should solve a real problem in your space.
The goal is not to buy a tiny greenhouse on day one. The goal is to give seeds a clean, bright, evenly moist start.
Start with the seeds and the space
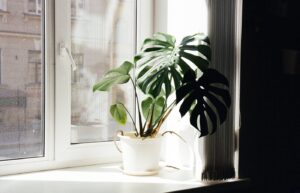
The first supply decision is not the tray. It is the kind of seeds you plan to start and where they will sit. Tomato, pepper, basil, lettuce, marigold, and zinnia seedlings do not all need the same timing, warmth, or room. A sunny windowsill, a shelf with lights, a laundry room table, or a protected corner of a garage will each shape the checklist.
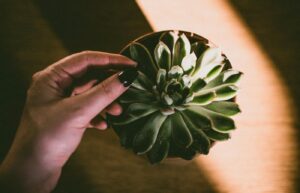
Count how many seedlings you truly need before buying large packs of cells. A beginner may only need one or two trays, not a rack full of supplies. If you garden in containers, start fewer plants and choose compact varieties. If you have a larger outdoor bed, you can plan more cells, but you still need space to care for them after they sprout.
Also think about mess. Seed starting mix is light and easy to spill. Water can drip from trays. Labels, packets, and tools get scattered quickly. I like choosing the work surface before opening the soil bag because the setup feels calmer when everything has a landing place.
- Choose seeds that match your growing space and season.
- Count the number of plants you actually want to transplant.
- Pick a work surface that can handle soil and water.
- Leave room for seedlings after they grow taller.
Choose trays, cells, and drainage carefully
Seed trays and cell packs give seedlings a place to germinate, but drainage is what keeps the roots from sitting in soggy mix. A tray with individual cells can make transplanting easier because each seedling has its own small space. Open flats can work too, but they require more careful spacing and earlier transplanting.
Look for containers that are clean, sturdy enough to move, and deep enough for the seeds you are starting. Very shallow cells dry out quickly. Very large pots use more mix and take up space under lights. For many beginners, a standard cell tray with a bottom tray underneath is easier to manage than a collection of random containers.
If you reuse pots or trays, wash them first and let them dry. Old soil, algae, and plant debris can create problems for new seedlings. Reused containers are useful, but only when they start clean. A bottom tray without holes can catch water, while the cells above still need holes so extra moisture can drain away.
| Supply | Main job | Beginner note |
|---|---|---|
| Cell tray | Holds individual seedlings | Good for tomatoes, herbs, and flowers |
| Bottom tray | Catches water | Protects shelves and tables |
| Seed starting mix | Supports germination | Lighter than garden soil |
| Plant labels | Tracks varieties | Write before watering |
Use seed starting mix instead of heavy garden soil
Seed starting mix is one of the supplies worth buying carefully. It is usually lighter and finer than outdoor garden soil, which helps small roots move through it. Heavy garden soil can compact in cells, hold uneven moisture, and make it harder for tiny seedlings to emerge. Potting mix can work for some larger seeds, but a fine seed starting mix is easier for delicate seeds.
Before filling trays, moisten the mix in a tub or bowl until it feels evenly damp, not muddy. Dry mix can repel water at first, and soaking filled cells afterward can shift seeds around. Even moisture starts before the seed goes in. Pre-moistening also helps you fill cells without leaving dry pockets that confuse watering later.
Do not pack the mix down like concrete. Fill the cells, tap the tray gently, and level the surface. Roots need contact with the mix, but they also need air. If the mix sinks after the first watering, add a little more rather than pressing hard. This small step can prevent uneven germination across the tray.
Label everything before the tray gets wet
Labels feel optional until the first leaves look identical. Many seedlings start with similar green leaves, and seed packets get separated from trays quickly. A simple label can save weeks of guessing. Write the plant name, variety, and sowing date before watering because wet labels and muddy hands make neat writing harder.
Plastic labels, wooden sticks, masking tape on a tray edge, or cut pieces from clean containers can all work. The best label is the one that stays readable in your setup. Pencil can last surprisingly well on some plant labels. Permanent marker can fade in strong light or smear on certain plastics, so test your materials if the tray will stay under lights for weeks.
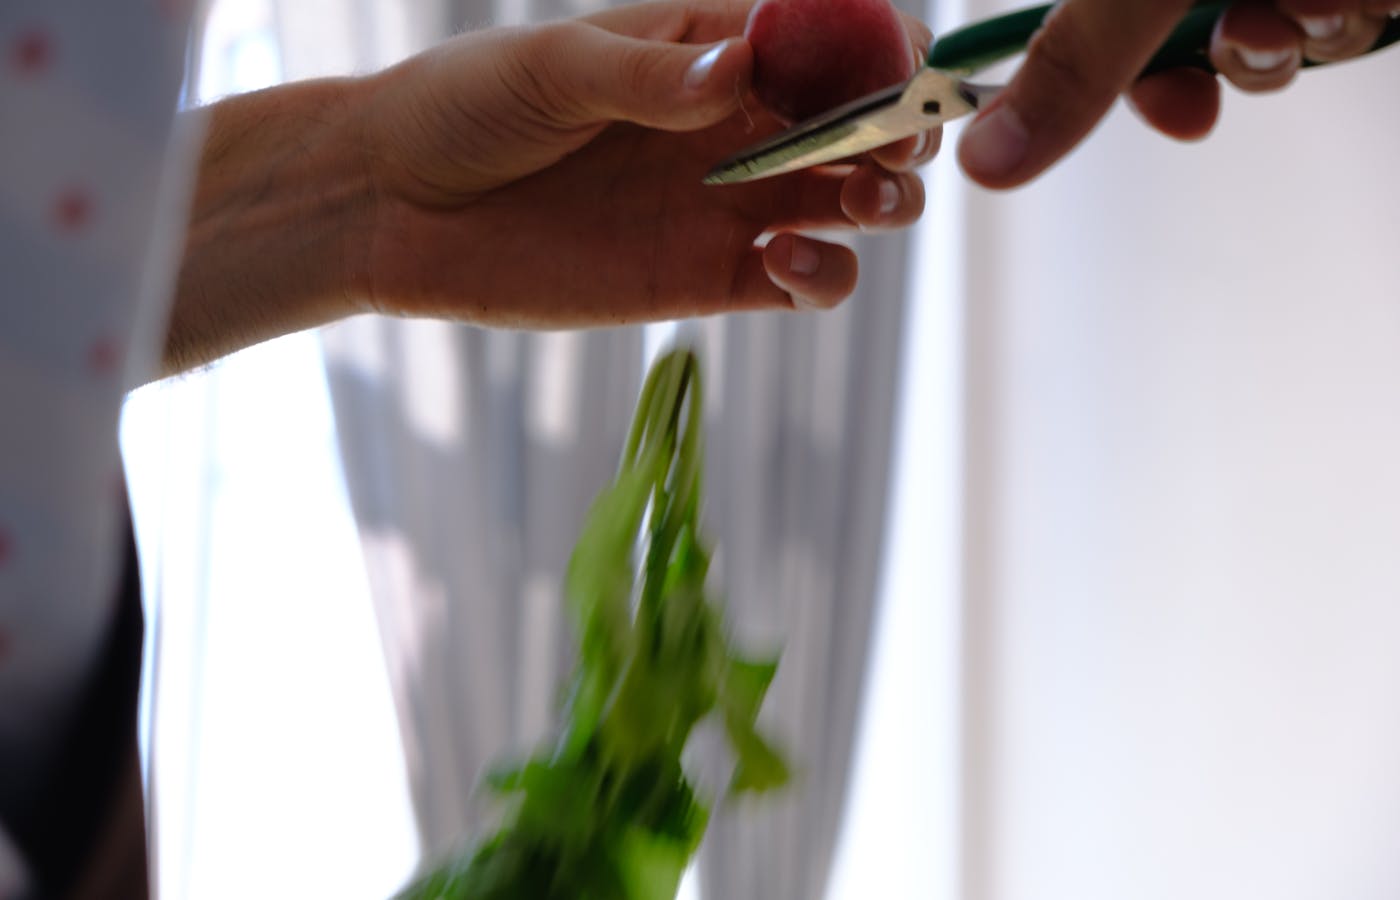
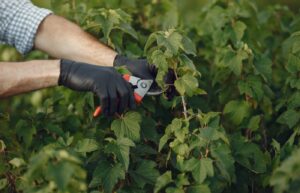
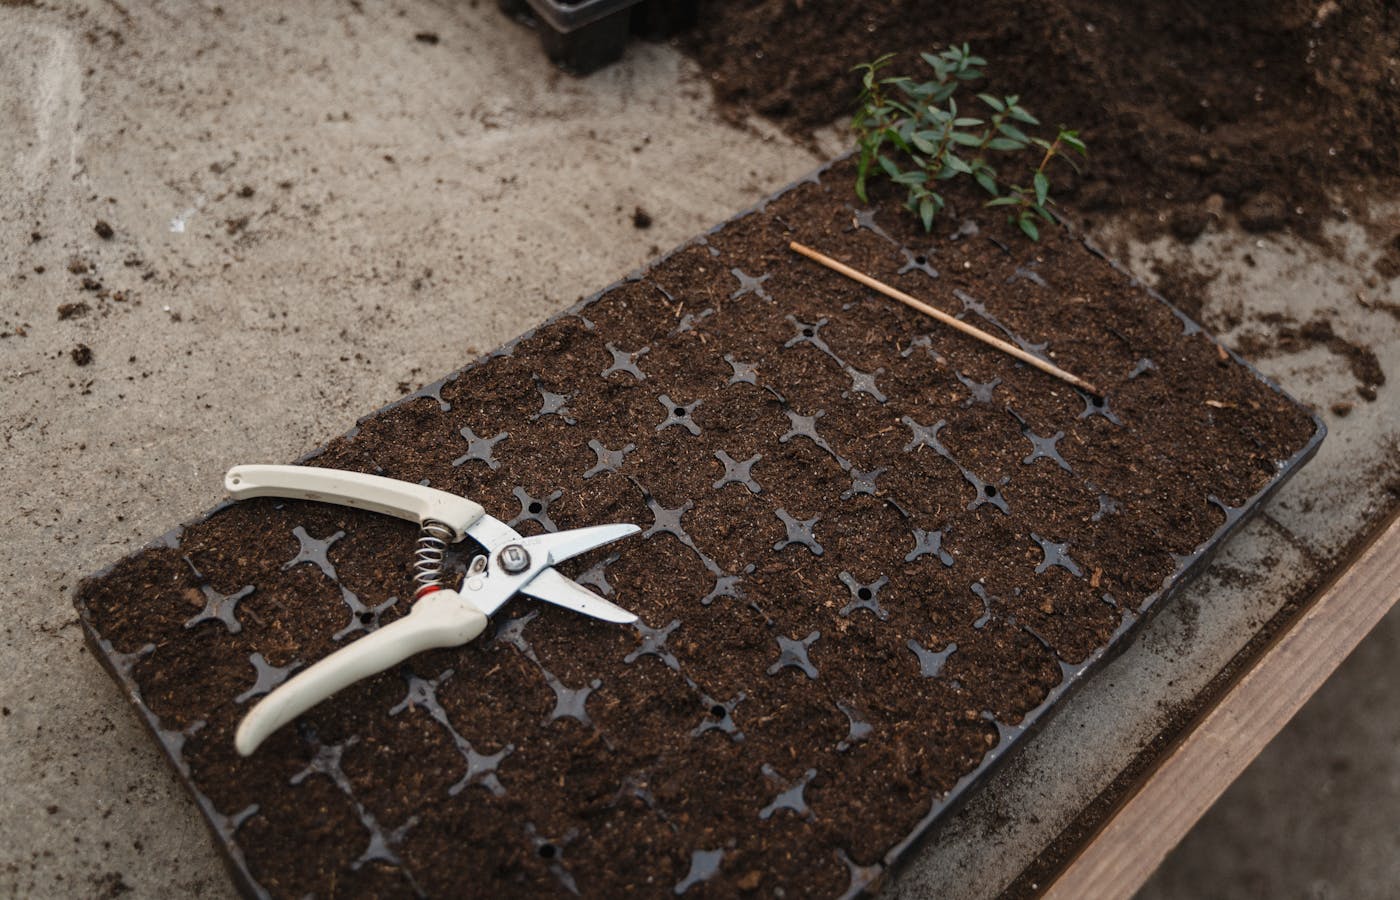
Label rows when several varieties share a tray, but avoid relying only on memory. If one cell fails and you move seedlings around, a row label may become confusing. Individual labels are slower but helpful for mixed trays, especially when starting several tomato, pepper, flower, or herb varieties. Once seedlings are large enough for cleanup, clean pruning-shears make small trimming jobs calmer and more precise.
A seedling label is not decoration. It is the map that keeps your future garden from becoming a tray of mystery plants.
Plan light and watering before germination
Seeds may sprout with warmth and moisture, but seedlings need light quickly after germination. A bright window can work for some starts, yet many windows do not provide enough direct light for strong growth. Seedlings stretching toward the glass, leaning hard, or growing pale and thin usually need more consistent light.
A basic grow light can be useful if your home lacks a sunny spot. The light should sit close enough to keep seedlings compact, but not so close that it heats or dries them harshly. Adjustable height matters because seedlings grow. A timer can help keep the routine consistent, especially if you forget to turn lights on and off.
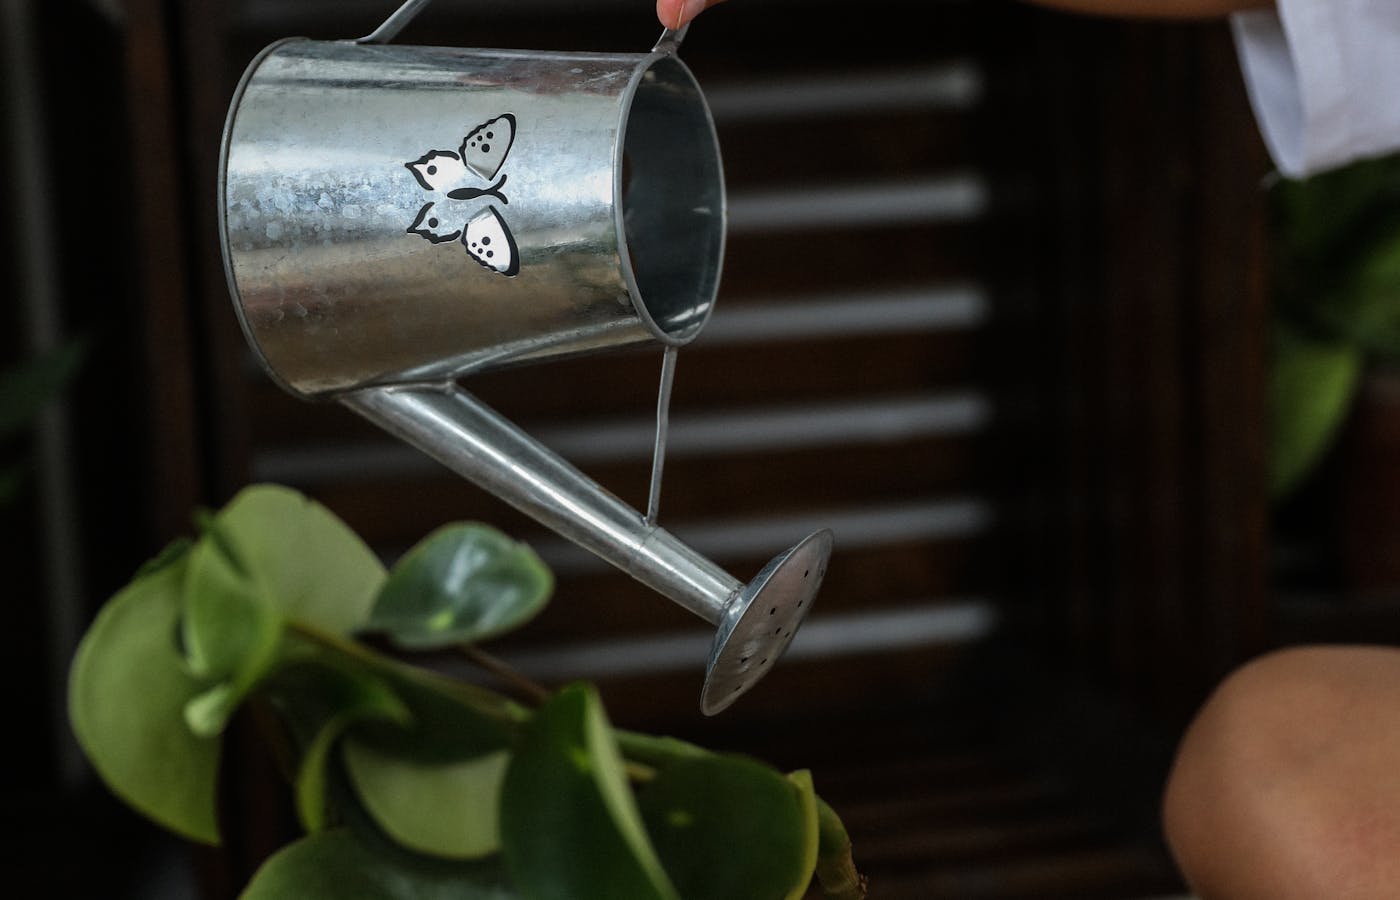
Watering also needs a tool that does not blast seeds out of place. A spray bottle, small watering can with a gentle rose, squeeze bottle, or bottom-watering tray can all help. The right choice depends on your tray and your patience. The goal is steady moisture, not daily flooding.
- Use gentle water flow for newly planted trays.
- Move lights as seedlings grow taller.
- Check moisture by weight and surface feel, not only by schedule.
- Empty standing water if cells stay wet for too long.
Set up a simple seed starting station
A seed starting station keeps supplies from spreading across the whole house. It does not need to be elaborate. A shelf, table, tray, or plastic bin can hold the essentials: seed packets, labels, pencil, filled trays, watering tool, extra mix, and a towel for spills. When everything lives together, it is easier to check seedlings daily.
Keep the station away from pets, curious children, strong drafts, and places where trays will be bumped. Seedlings are fragile in the first weeks. A tray that gets knocked sideways can mix labels, bury sprouts, and undo careful planting. If you use lights, make sure cords are safe and water cannot drip onto plugs or power strips.
Store extra supplies nearby but not on top of the growing trays. Seed packets should stay dry. Tools should be easy to clean. If the station is in a living space, choose a bottom tray that catches water and soil crumbs. The easier the station is to maintain, the more likely you are to check it before problems build.
- Place trays on a stable surface with a bottom tray.
- Fill cells with pre-moistened seed starting mix.
- Label each variety before sowing.
- Sow seeds at the packet depth and cover gently.
- Water with a gentle tool and move trays into bright light after sprouting.
A seed starting supplies checklist should make the first planting session calmer, not more expensive. Start with seeds, clean trays, light mix, labels, gentle watering, and enough light. Add heat mats, extra domes, special tools, or larger shelves only when your space and seedlings show that you need them.